Right, I’ve got HA up and running thanks to @JacoDeJongh. It is running on a Hyper-V machine that is most of the time on seeing it is the entertainment PC, and the watts are like 35w.
I’m this far: (… check that max from 4.2kw array … )
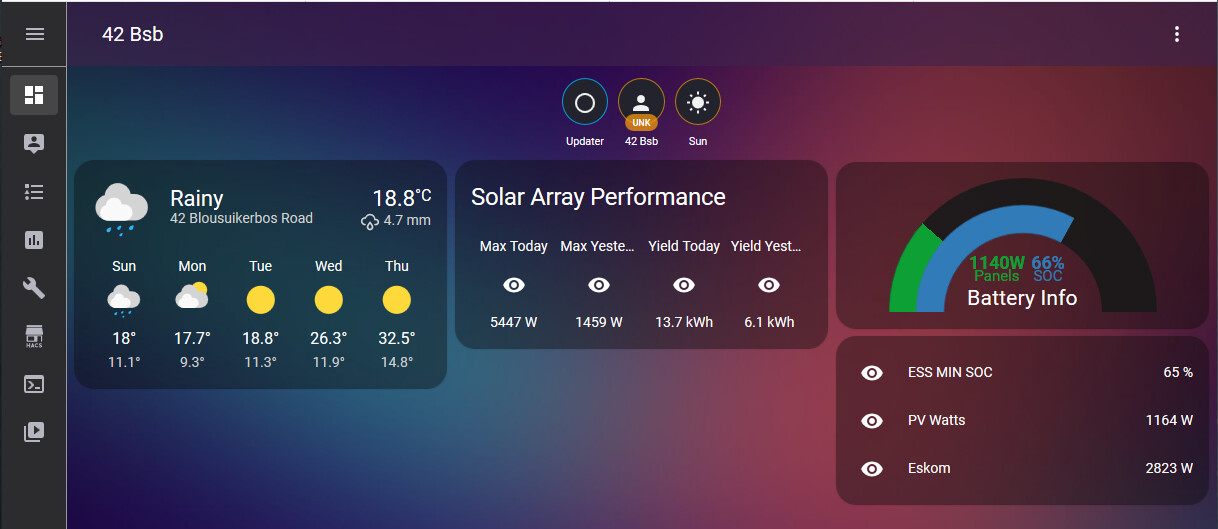
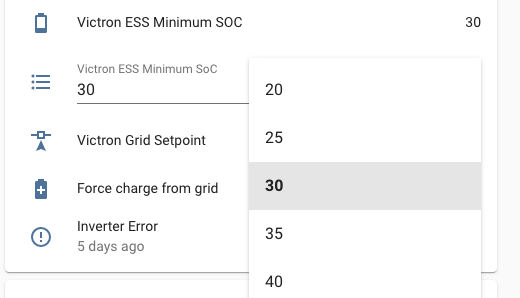
Now I want to get this done: From sunup to sunset:
IF BMV_SOC = 36 THEN SET ESS_MIN_SOC = 35
IF BMV_SOC = 41 THEN SET ESS_MIN_SOC = 40
IF BMV_SOC = 46 THEN SET ESS_MIN_SOC = 45
IF BMV_SOC = 51 THEN SET ESS_MIN_SOC = 50
IF BMV_SOC = 56 THEN SET ESS_MIN_SOC = 55
… and so forth.
From no idea of HA even existed to this level, yeah, how else does one do it? ![]()
I have spent days now Googling how to do the above and are now more confused than even before I started. ![]()
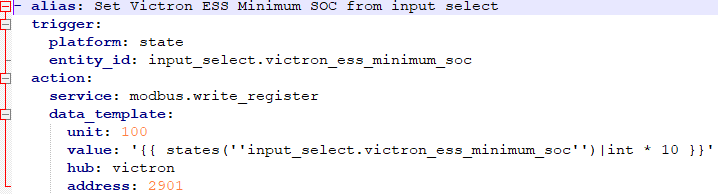
I have seen people suggest along these lines but I think there are a lot in-between I’m not “getting” my head around, like someone said, create an automations.yml:
action:
- data_template:
address: 2901
hub: victron
unit: 100
value: ‘{{ CALC_HERE | int}}’
service: modbus.write_register
Ok, now what?
Another one I saw:
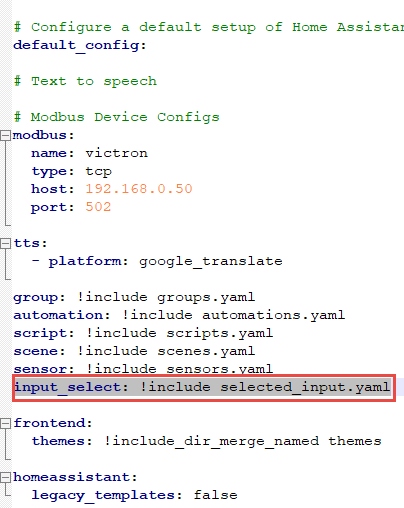
sensors.yaml:
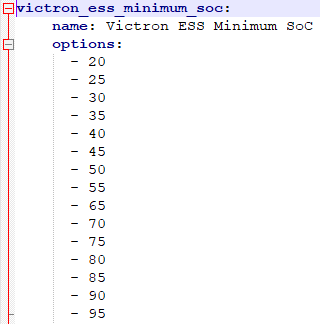
-
name: “ESS MIN SOC”
hub: victron
data_type: int
unit_of_measurement: “%”
slave: 100
register: 2901
scale: 0.1
precision: 0 -
name: “BMV SOC”
hub: victron
data_type: uint
unit_of_measurement: “%”
slave: 245
register: 266
scale: 0.1
And create a switches.yaml
- platform: modbus
registers:
- name: Up SOC
hub: victron
slave: 100
register: 2901
command_on: 30 (something more is needed here … )
verify_state: false
Again, a lot missing in-between I think …
Anyone game to help me get the above in place, that it works?
See it as “Monkey see, Monkey do” … and on my way I am to craft more ideas.
Just need that template.
And once the above is working then I want to get this going, file for file, step by step inside HA:
Maybe @ebendl can add his files and steps inside HA, to copy/paste for the next person?
Want to use SolCast to determine what my ESS_MIN_SOC must be each night based on the anticipated production the next day.
After that I want a couple of them Sonof switches … switch stuff on and off from the HA dashboard … some stuff automatic. I’ll get there.