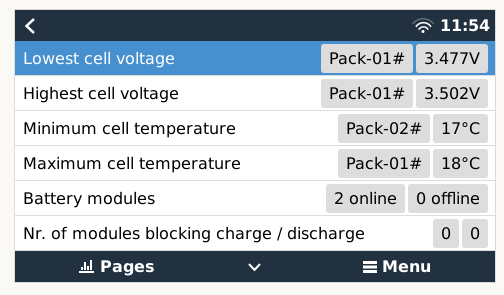
It just struck me, are these volts correct on Lifepo4?
According to specs 3,65 is max voltage
Just something I observed is that my batteries are very happy at 56v now and the small imbalance I had is actually almost gone, I now have lowest 3,44 and highest 3,5 and its getting closer every day. I found that when there is sudden charging it goes a bit more than 56v sometimes close to 57v but then settles down again to 56 and cells are happy. anything higher than 56,5v and the cells start going a bit unbalanced but very slightly
Yup. The balancer is doing its job. Remember, though, it is “top-balancing” the battery. The cells are not identical and one of them is is the “smallest” of the set. When you Discharge the battery to 0% SOC, that cell will be empty first. And that is fine. The capacity of the battery, then, is the capacity of the smallest cell multiplied by the number of cells (in watt hours).
Think of it as multiple almost-identical water tanks from which you draw evenly. When the smallest tank is empty, the flow stops. There will still be water left in the rest, but you cannot access those. The balancer makes sure that they are all the same AT THE TOP.
As another forum member did mention the other day though, the tech isn’t completely settled on this, there are apparently other ways of doing this, doing a kind of “middle balancing” and staying away from high voltages. I don’t yet know enough about that ![]()
Yes. Nominal voltage for an LFP cell is 3.2V. At 3.45V it is 99% full, and at 3.5V it is 100% full. You can push past that, but around 4.2V you run the risk of damaging the cell (and for what… no extra energy is stored).
Other than Pylontech (which disconnects at 3.6V per cell), the other commercial BMSes seem to pull the plug around 3.8V per cell.
Edit: My recommendation for pushing the highest cell to above 3.6V, is simply to create the most optimal environment for the balancer to work. It does not damage that cell, it is lower than the point where most BMSes freak out, but it creates a nice big delta to work with.
2 Likes
Just for interest sake, these pics illustrate nicely what the BMS is doing in my system. The big dip was a power failure late at night and you can see how the high voltage cell pulled straight down to the same voltage as the low voltage cell. Since yesterday its suddenly topping up that they almost the same now.

I used to have a charged difference of ±0.011v between 16 cells,consistently, for months … till last week.
And this right here is how a BMS should do it! It would be interesting to also look at the maximum charge voltage chart at the same time. A good BMS will decrease the total charge voltage to prevent overvoltage on that one cell, and then gradually increase the charge voltage as the others catch up.
You may even see the high cell come down slightly towards the end, as they all equalise towards the same slightly lower voltage.
1 Like
Update:
Was supposed to start putting screws into the roof for the solar panel rail but this flippin weather not cooperating.
I have a corrugated steel roof so going to be putting in these hanger bolts with bonded washers and then nuts and washers to level the rail.
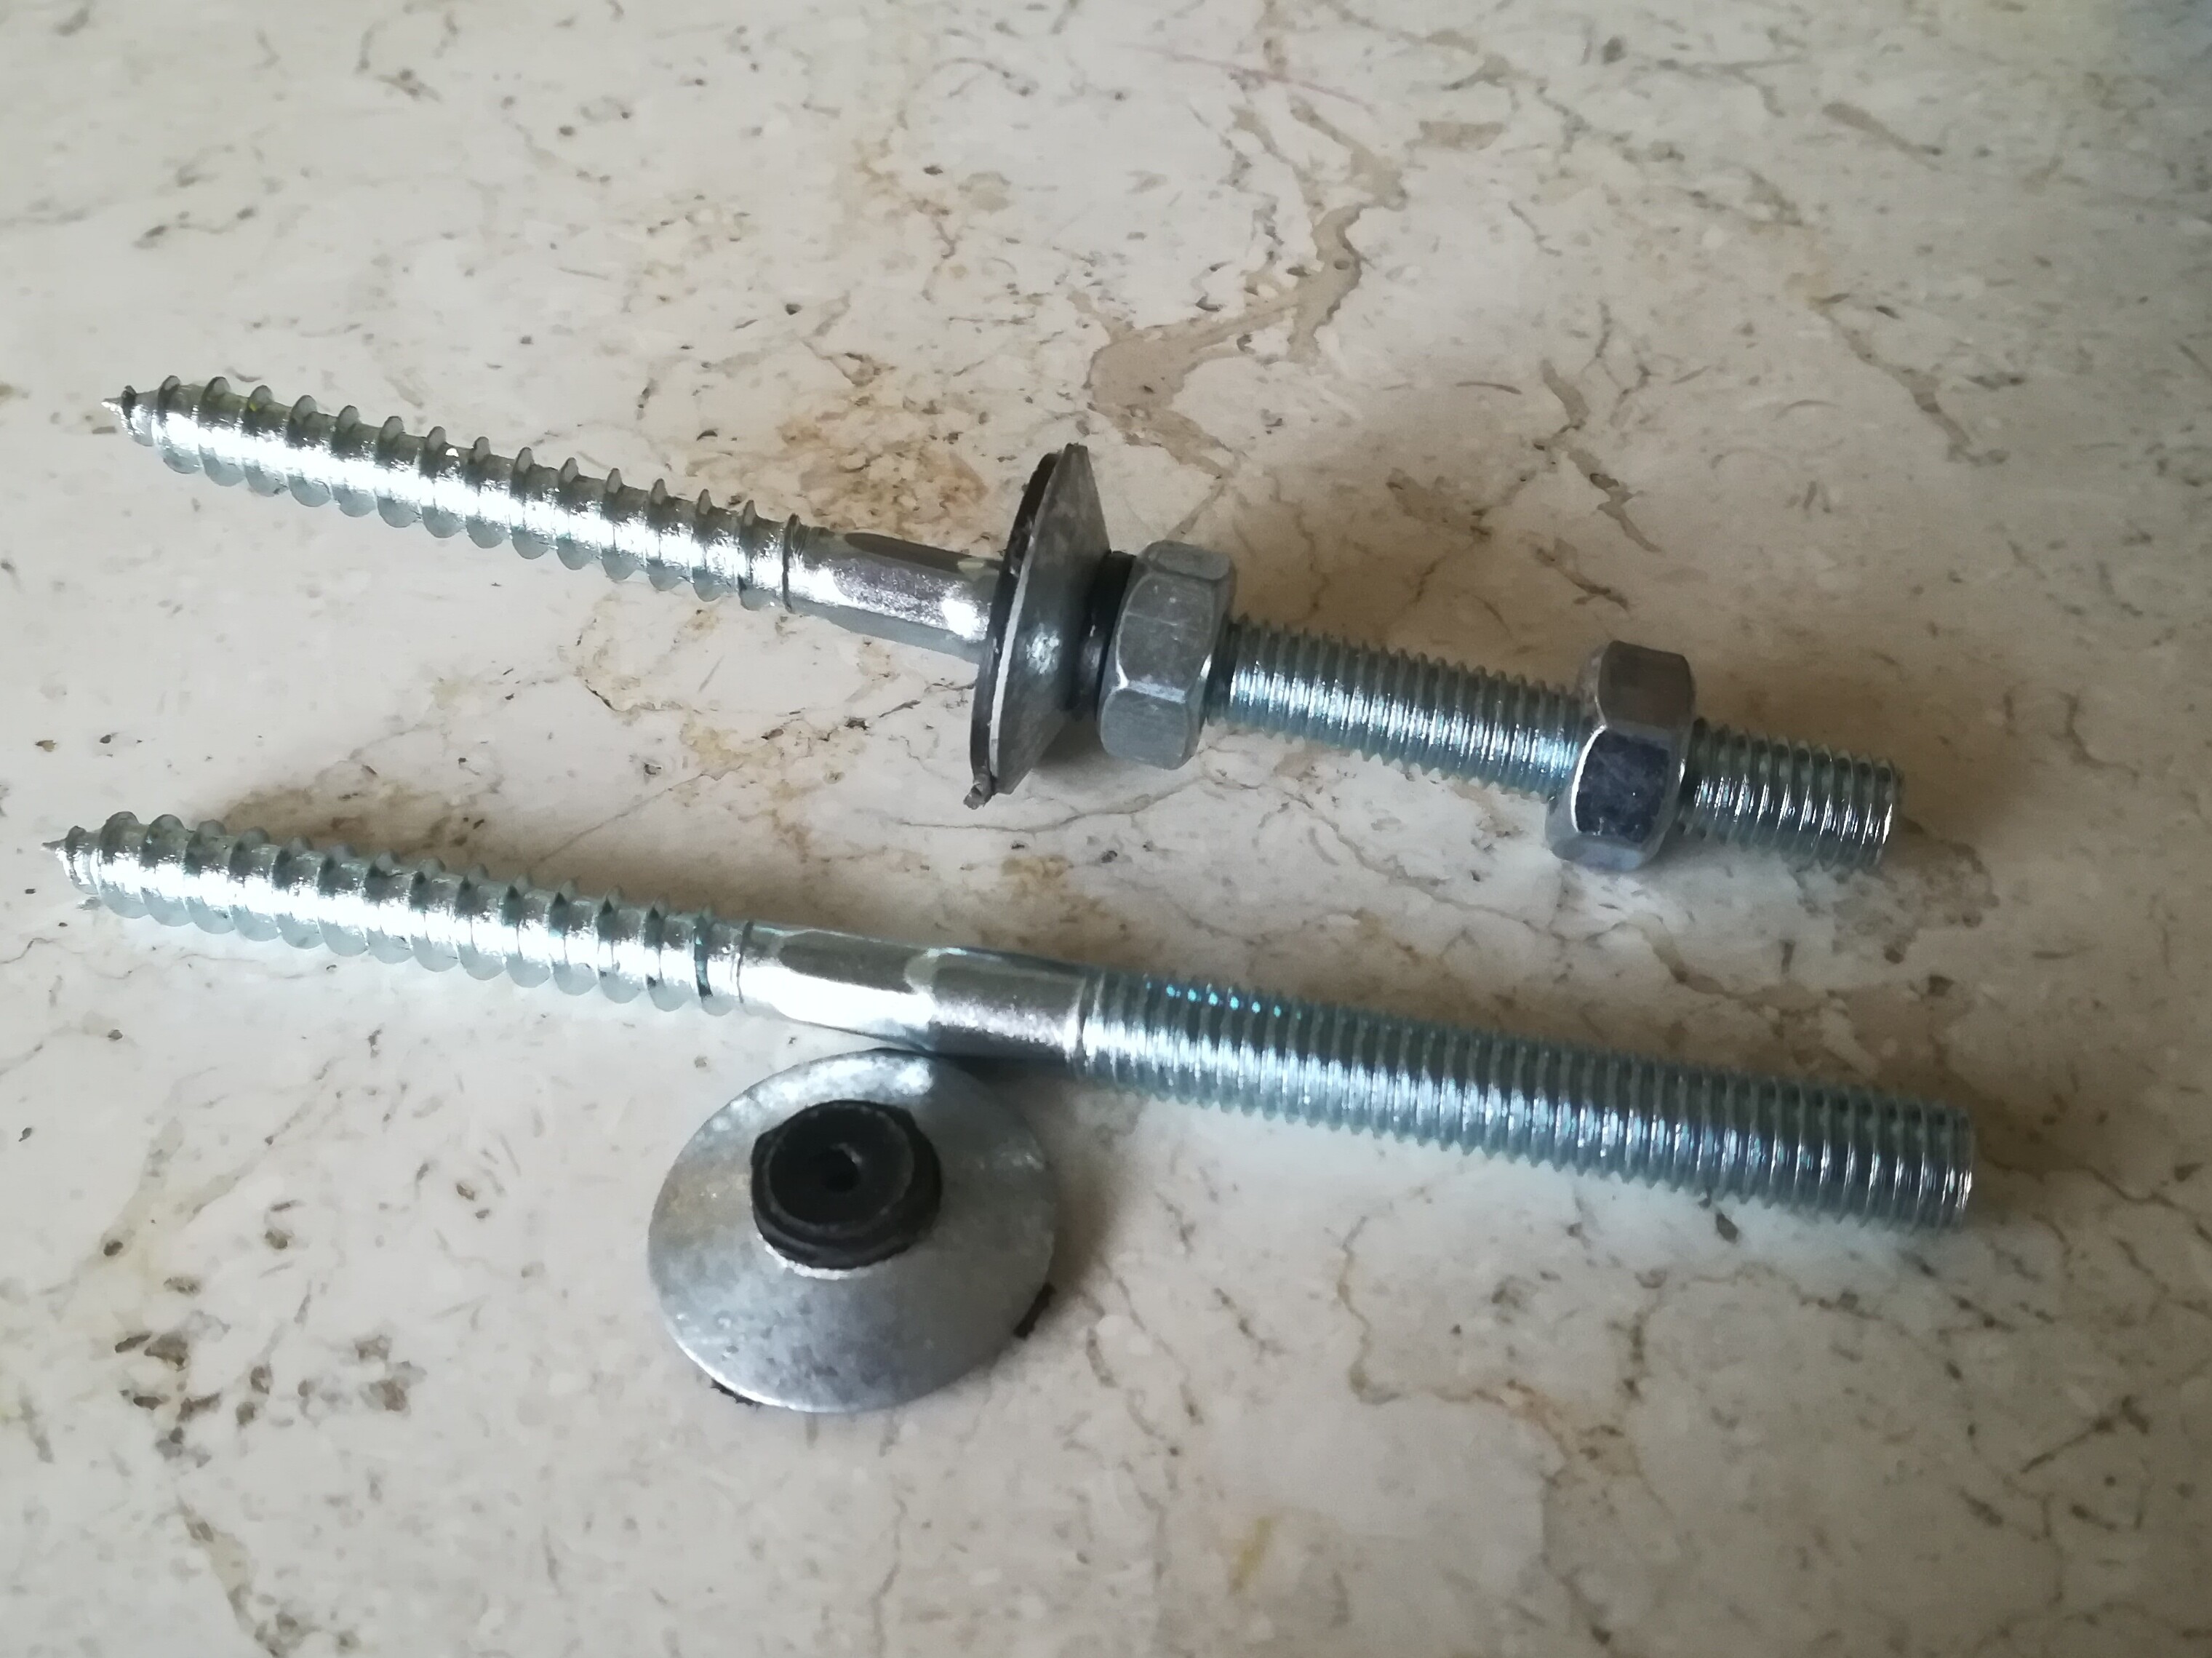
There is a much better and cheaper way. I used those right in the beginning but found a better solution with no rails included spesifically for corrugated sheets.
Do you have a pic or is it a trade secret?
Sorry did it from my phone, will send pics now.
This fits the profile of the sheet.
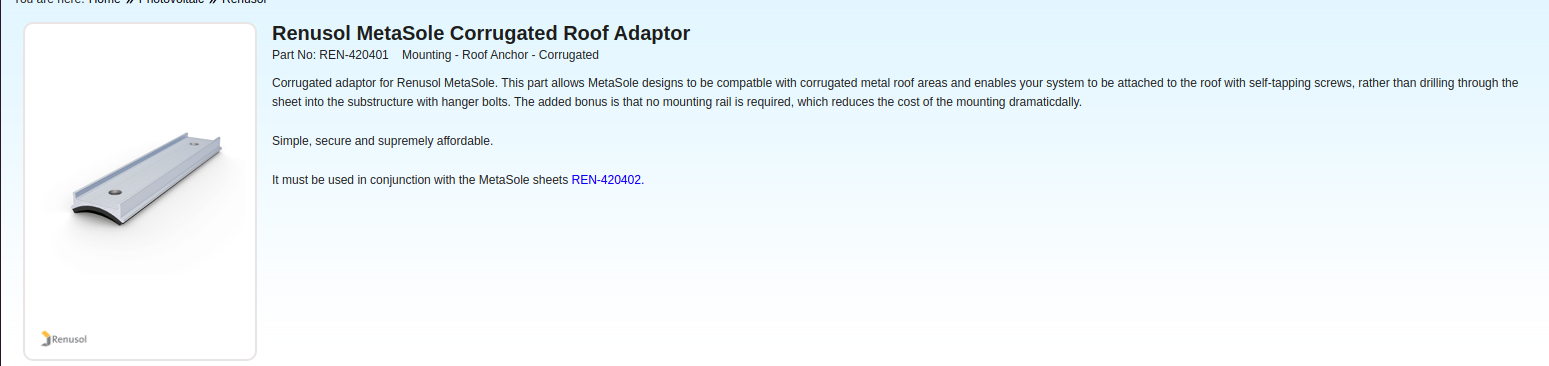
then you can fit this “Low” Fitting on top.
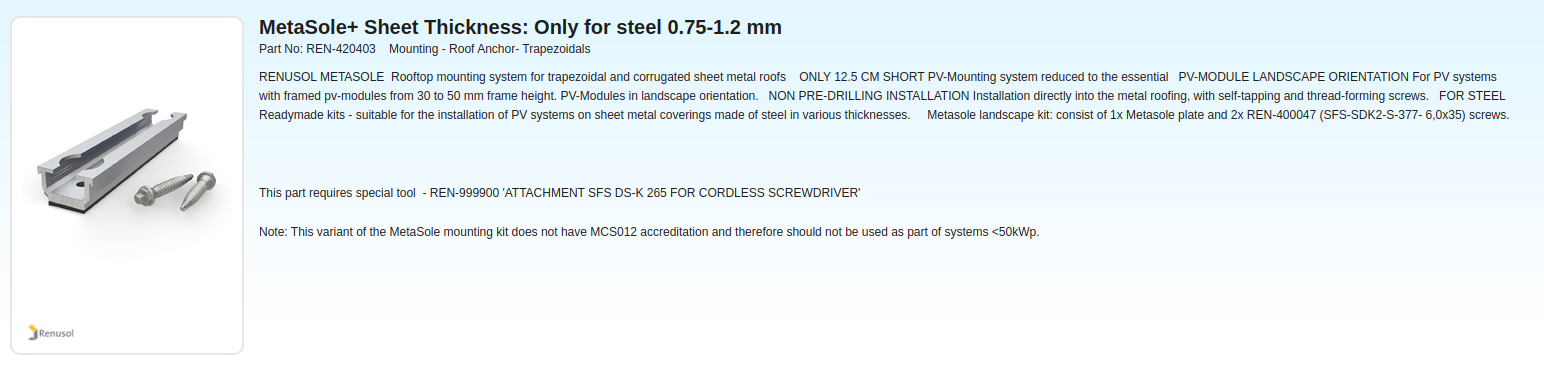
Or this “High” fitting.
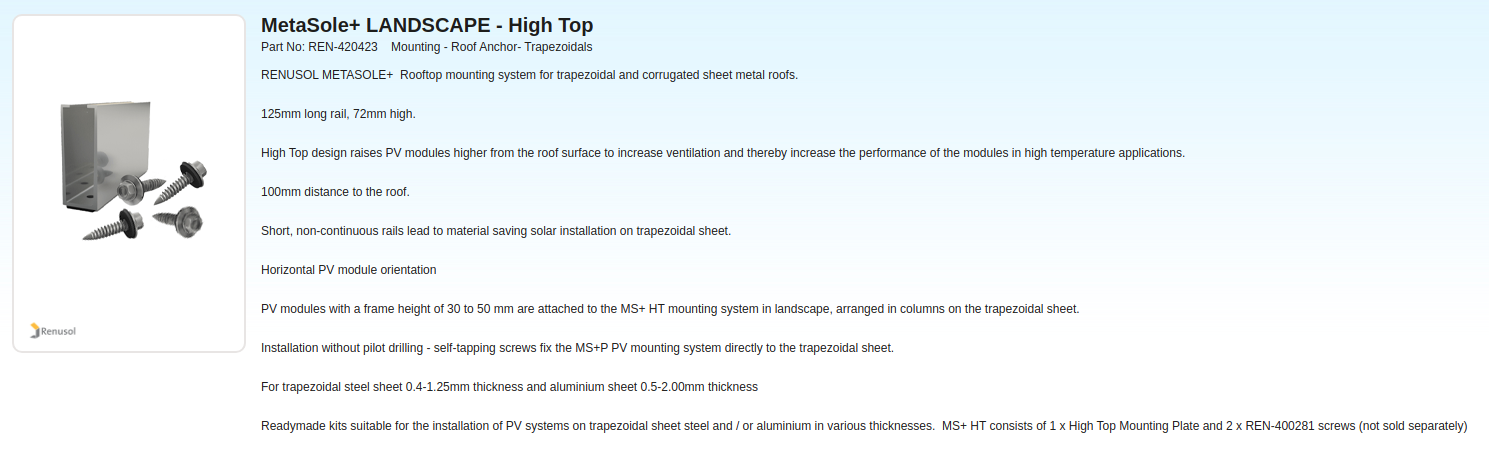
You will need 4 per panel, panels mount landscape and if you fit 2 rown below each other you would need 6 per every two panels.
1 Like
I have installed these as well… They are excellent but be careful of the thickness of your roof sheet. Needs to be thick enough! You get the Hi Top for a bit more circulation of air under the panels but the lower profile for windy locations!
You can also use blind rivets for attachment (stainless or aluminum).
1 Like
The problem I have is I need to mount 3 portrait and 1 landscape because of the weird roof shape. But on my east/west future arrays I can do them landscape so this should work, thanks.
That’s also something to worry about.
I guess this fitting makes installation quick which saves time for a client but doing it myself I can take my time. Thanks for the good suggestions
The actual problem is that most corrigated roofs we worked on had ceilings and some did not have access to the ceiling area so we could not see where the trusses were, so you either have to open the sheets or drill many many holes to find them… The second problem is trusses arent spaced the exact distance so after a while you start guessing again. Thirdly, sometimes the truss is not directly underneath the raised part of sheet so you either have to install your bracket a bit scew or in the valley of the sheet and then you stand the chance to have a water leak in the future. Lastly, we found that most of the trusses were scew, so the one end might end up two waves to the left or right of the other end. It makes it almost impossible to do a proper and neat install…
If you have the perfect roof with everything 100 % alingend, accessible and equally spaced, your brackets will work fine, if not, rather save yourself the trouble and use these above…
4 Likes
I learned a trick on my own roof. Walk very slowly along the line of roofing screws… you may feel a slight give where the purlins are not crossing a truss, as soon as you step on the truss & purlin point you feel it’s solid. Mark that screw/nail …
I then took out the appropriate roofing screws (nails in my case) and replaced them with a hanger bolt to mount my rails. No extra holes drilled but not an exact science 
4 Likes
Update time:
Managed to start with the solar panel installation and @JacoDeJongh you were completely right about what a pain in the butt it is installing with unistrut, but that was all I had so just went with it. Will definitely be using those brackets you mentioned for my east west panels.
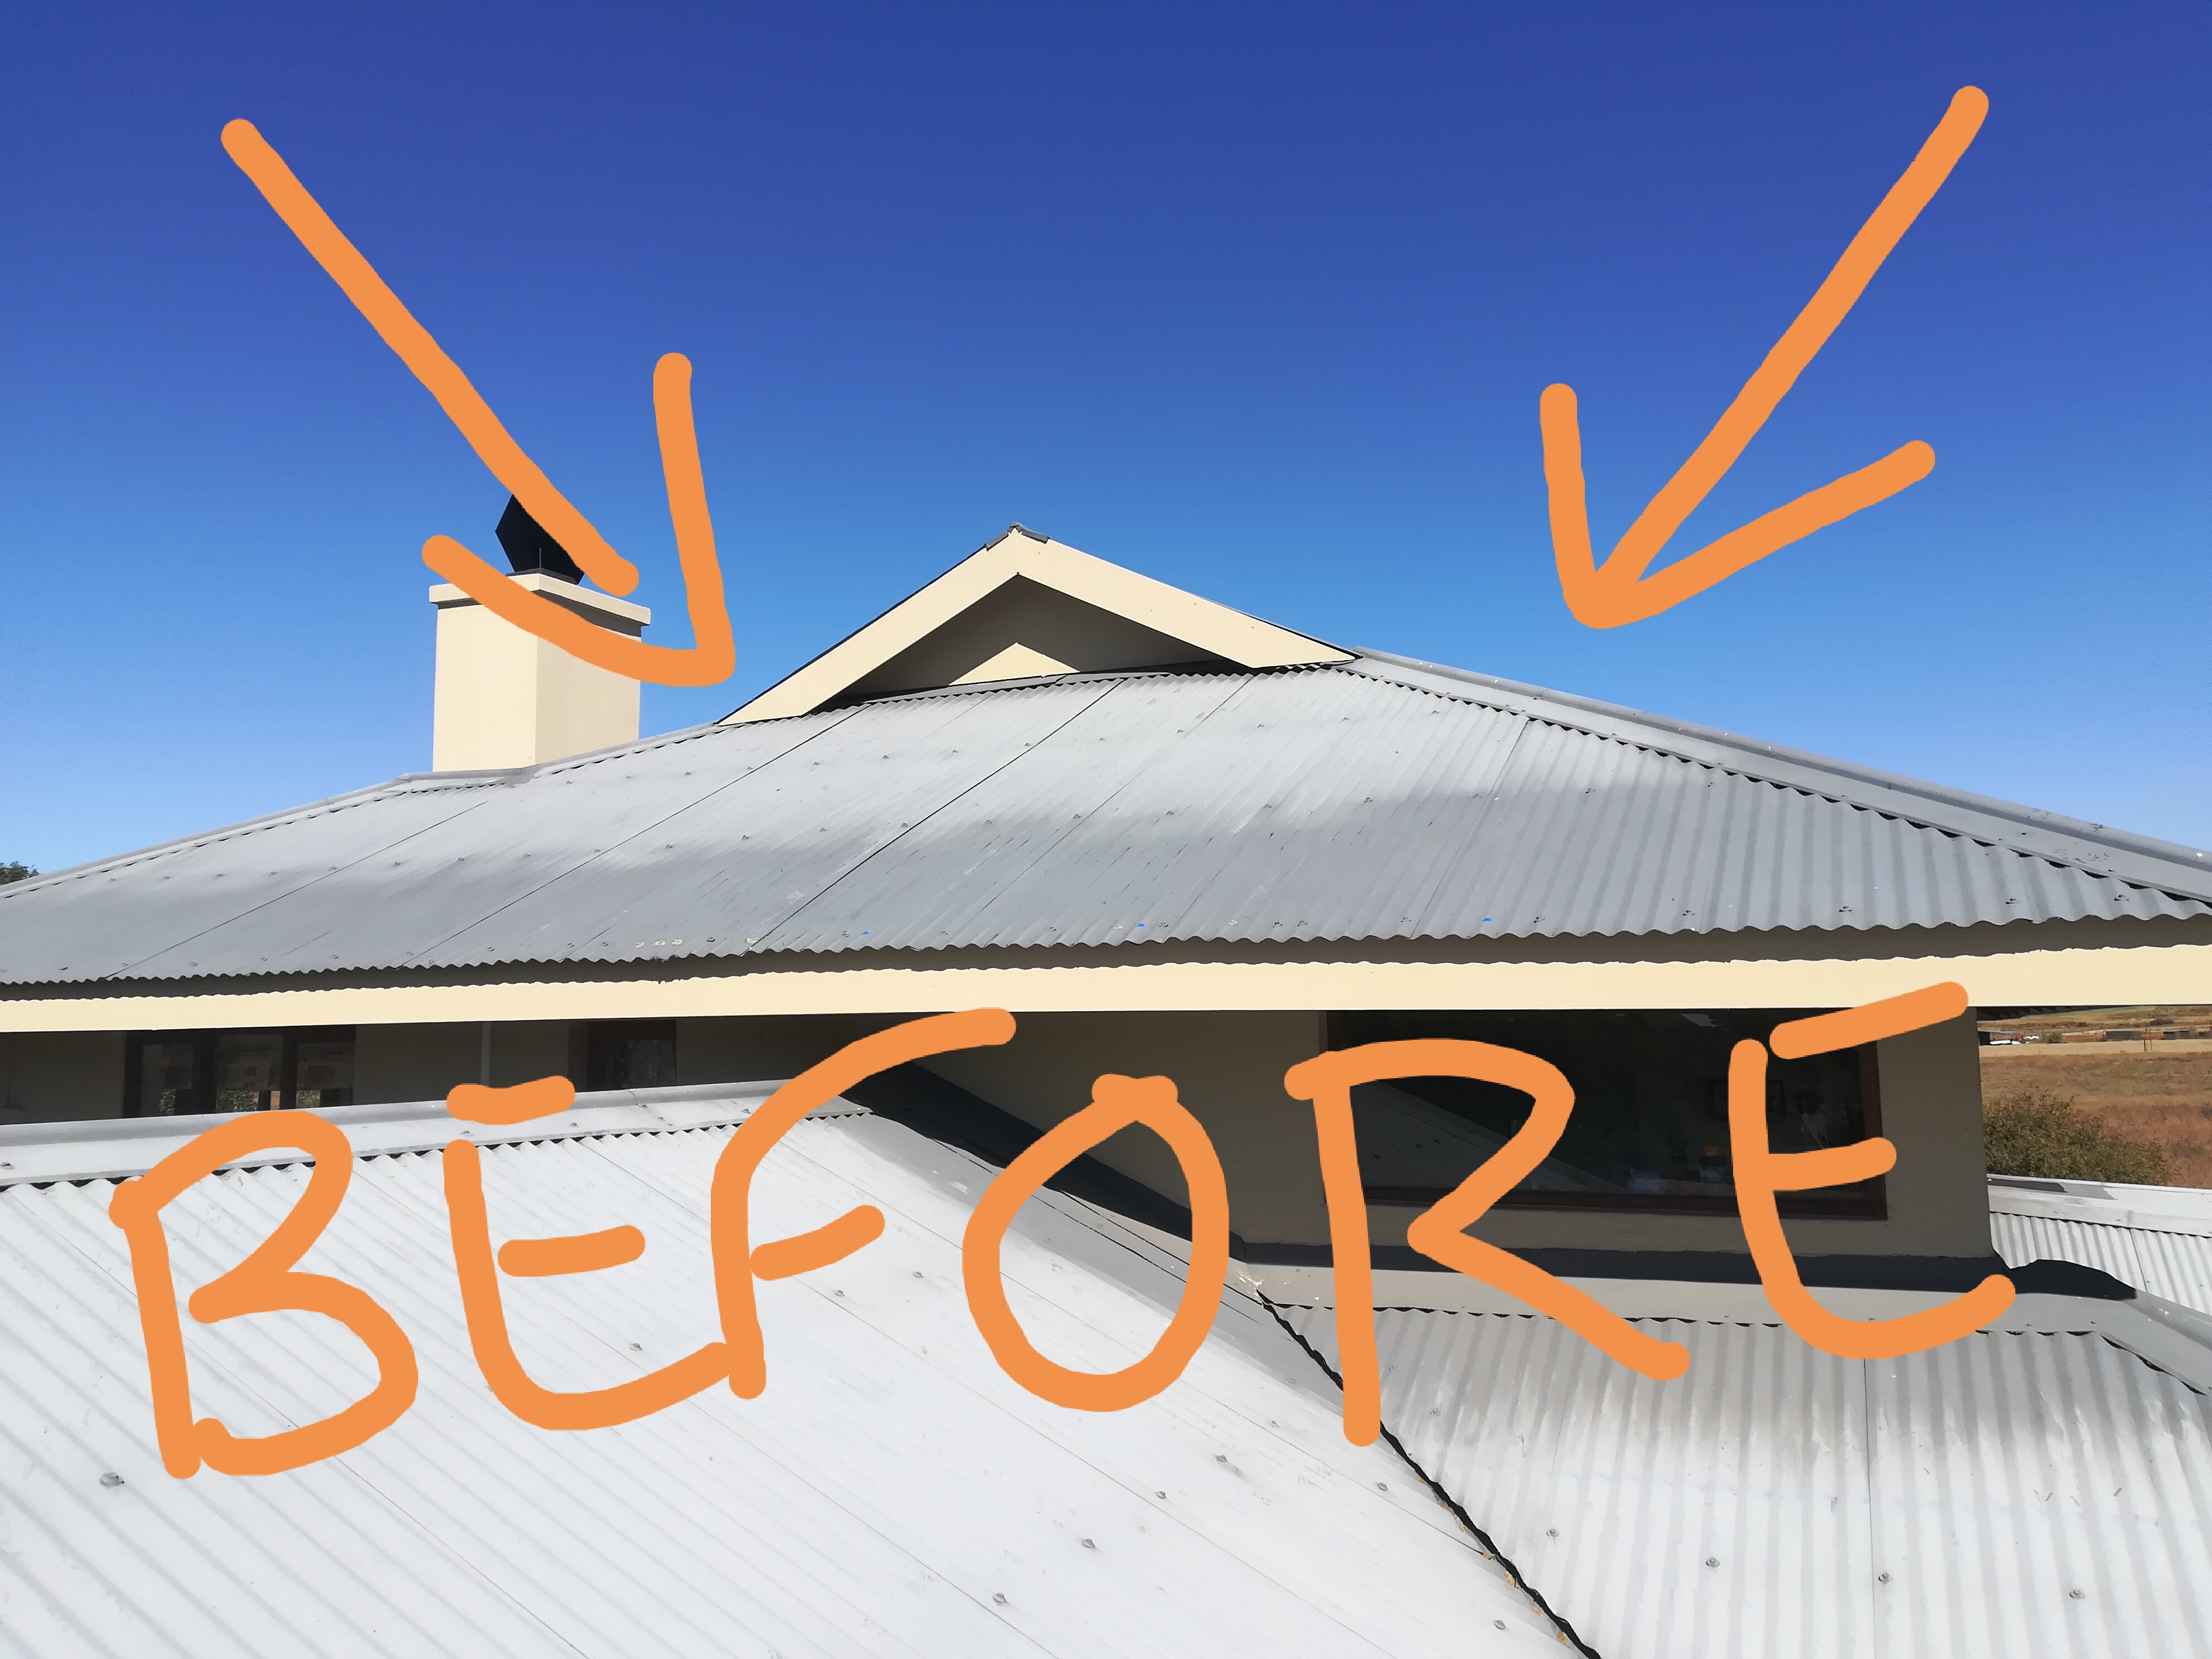
As you can see in the before pic my roof is in serious need of paint so spent the weekend painting the section I need for the panels, then put the unistrut down. Now rest of roof looks worse  next to the painted section.
Didn’t get time for a after pic but did get pic of my completed PV DB board.
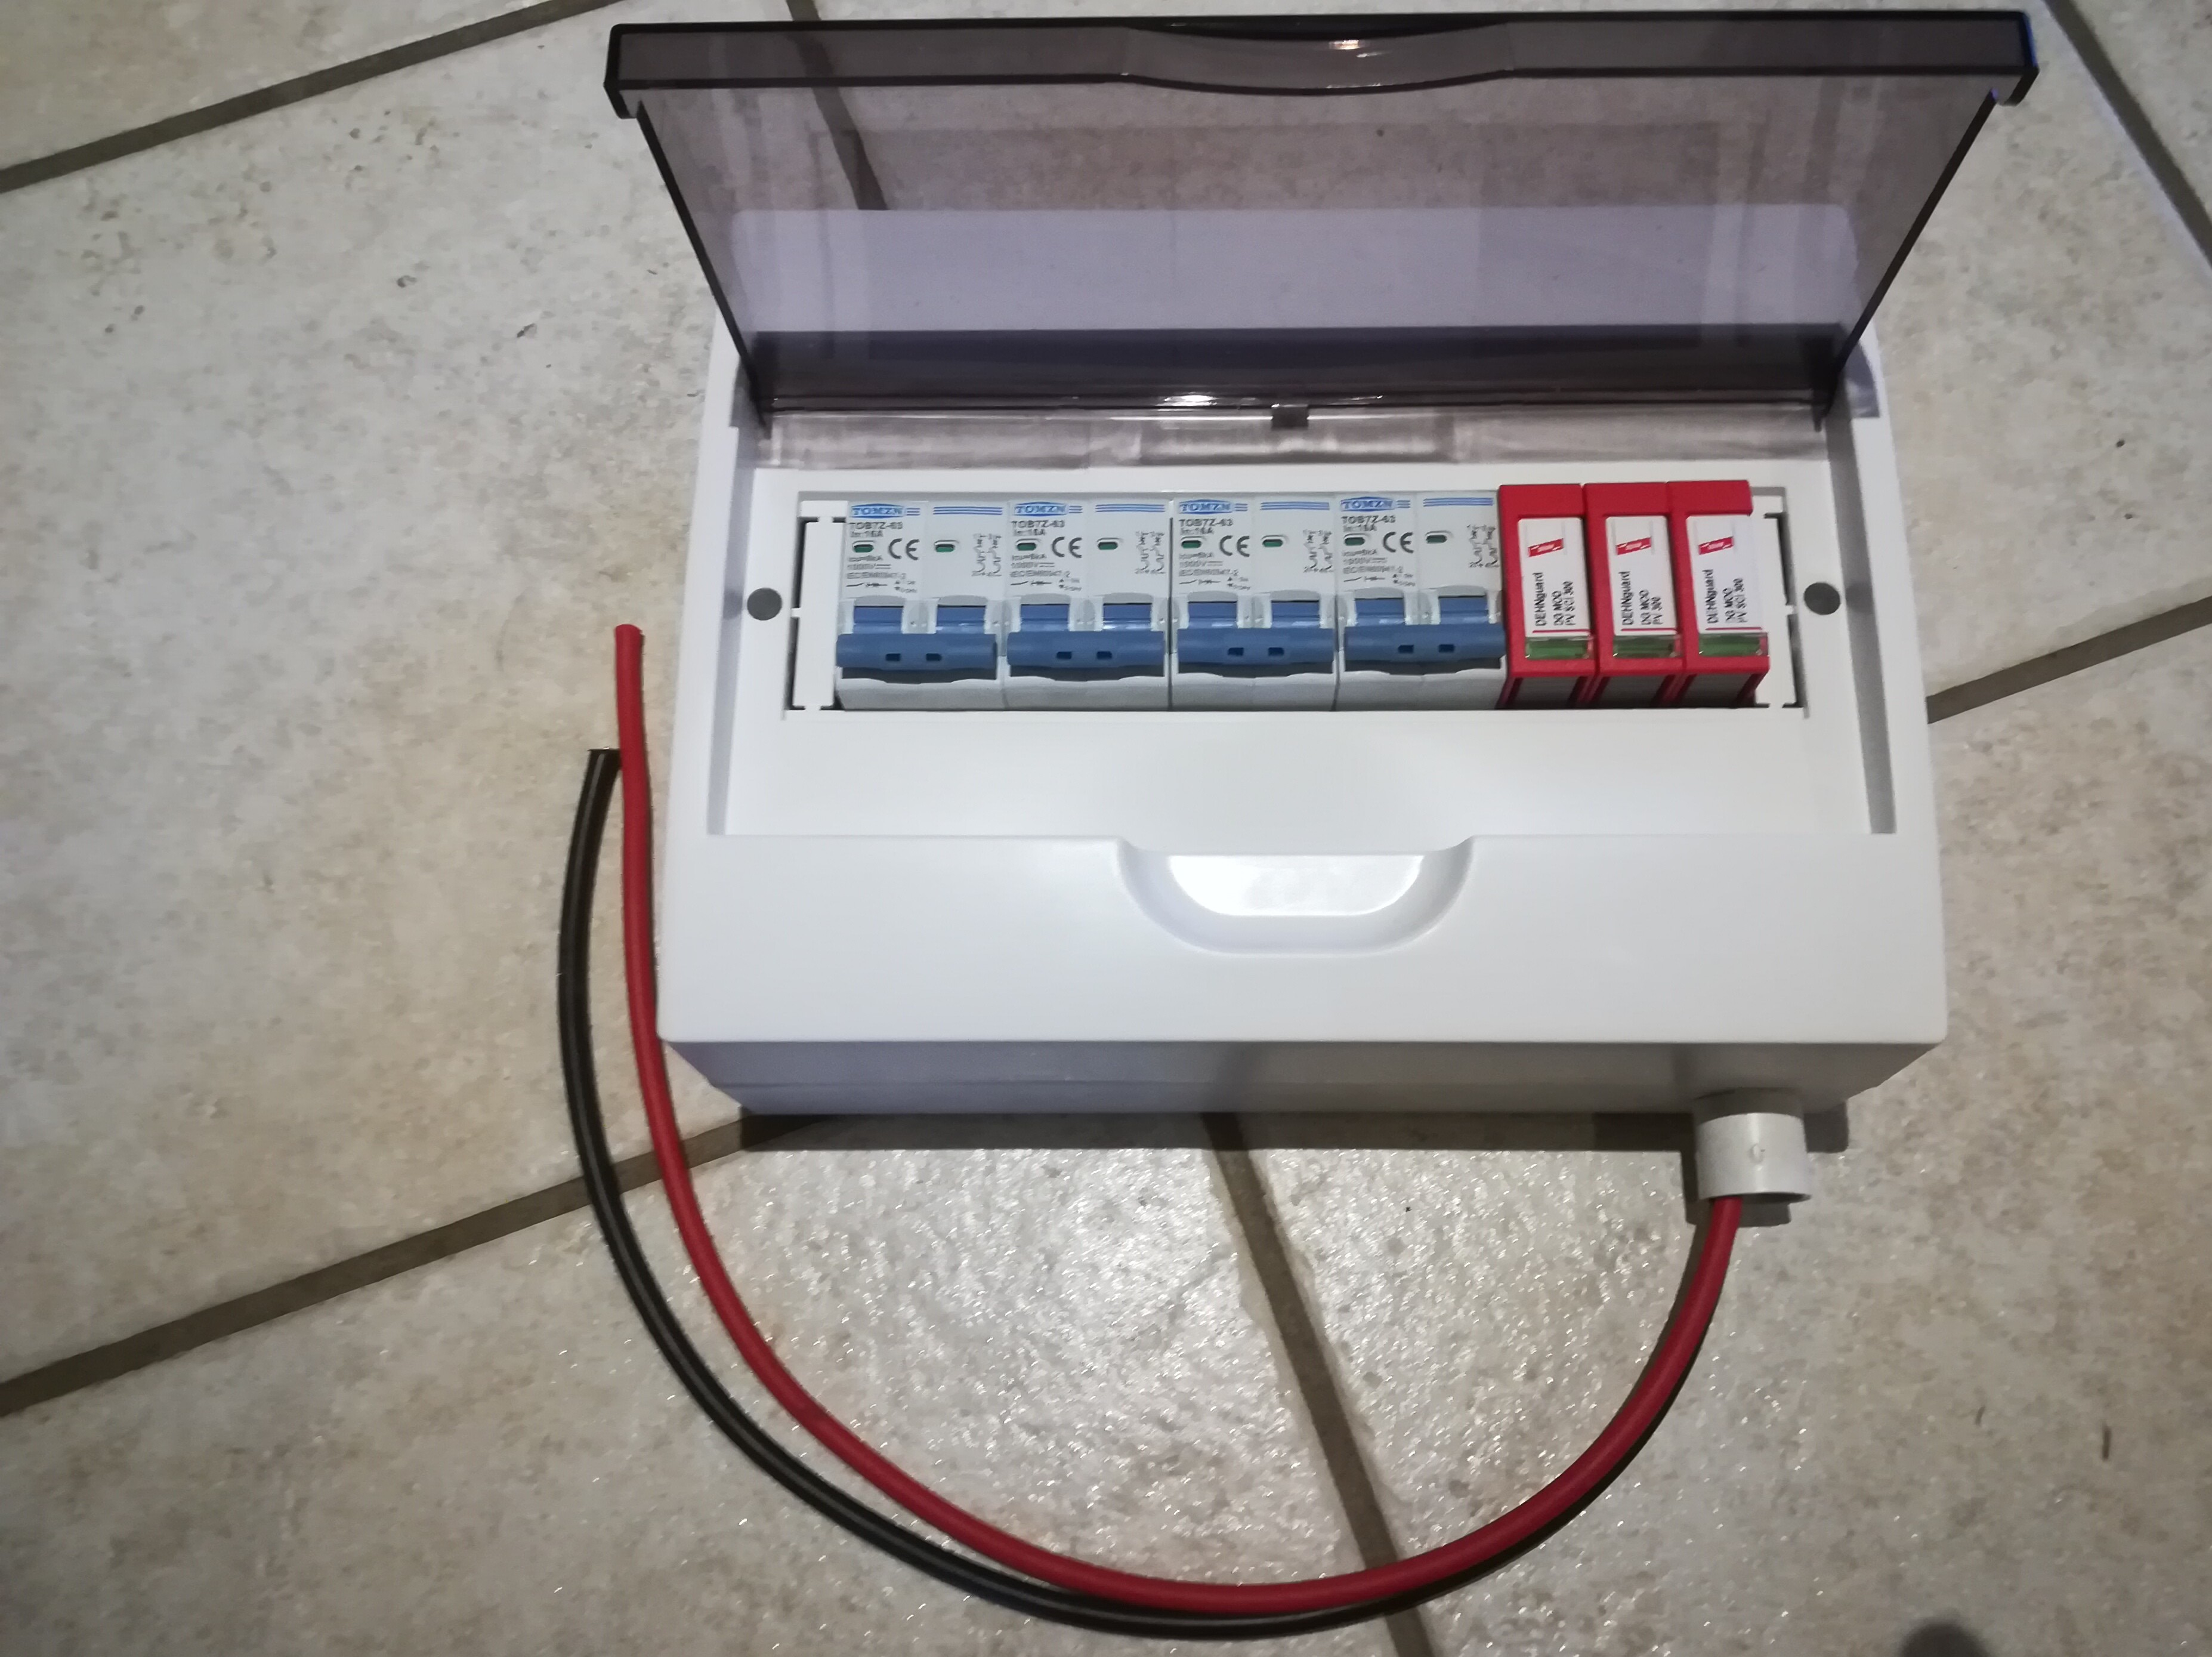
1 Like
Clever move!
question time
-
In the pic above, below the window is my db boards in the garage, i was going to run a piece of trunking up the corner of the house till under the top overhang. I was going to use some flex conduit to get it around and ontop of the roof instead of drilling through the roof. Is there a better way to get the cable onto the roof?
-
I was thinking of running a earth wire up to the uni strut frame but not sure if its totally necessary. what is the correct way to earth solar panels if even needed on a huge metal roof?
You will see a hole in the frame of each panel for the earthing connection and I know you should connect each panel using that. But some struts say you can just earth the strut, but from my understanding that is not according to the standards.
Should you earth then even on a metal roof. For sure. The metal roof is not earthed, but your panels have electrical connections into your house wires and you want to keep the lightning as far away from that that you can. (Metal roof or not makes no diff)
2 Likes