There is a way of doing this, I have done this before and it came out fine. It does however work better with a single plug, but will a little more effort it can work with a double plug as well.
In short. From the existing plugs side, drill a small hole exactly in the centre of the existing plug box, that will mark the centre of your plug on the other side. Now mark an area big enough to allow you to enter the plug part only and break away that plaster till you reach the back metal part of the existing box. Use something like a dremmel and cut away the metal to the same size as the plaster that you removed.
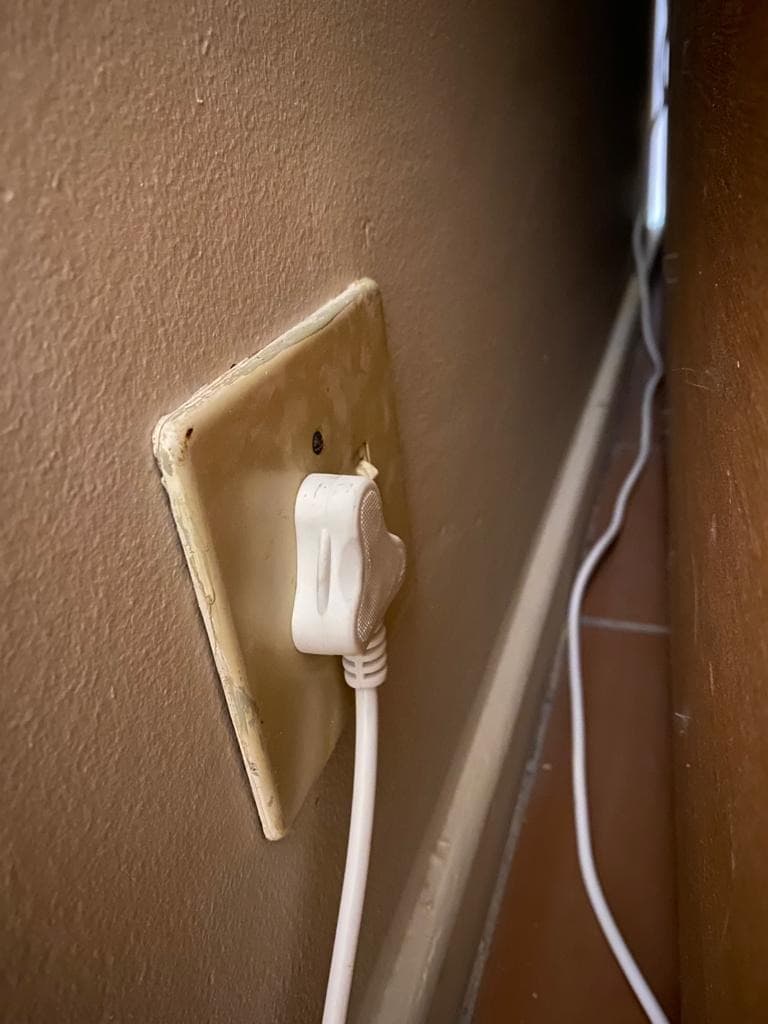
The bigger part of the plug fits flush to the wall, no plastering or painting needed. I secured the new plug to the wall by drilling 2 small holes through the wall and old box. One on top and one at the bottom opposite sides.
Its difficult to explain, I am working a few km from you today, I can quickly pop in and show you what I am trying to say.
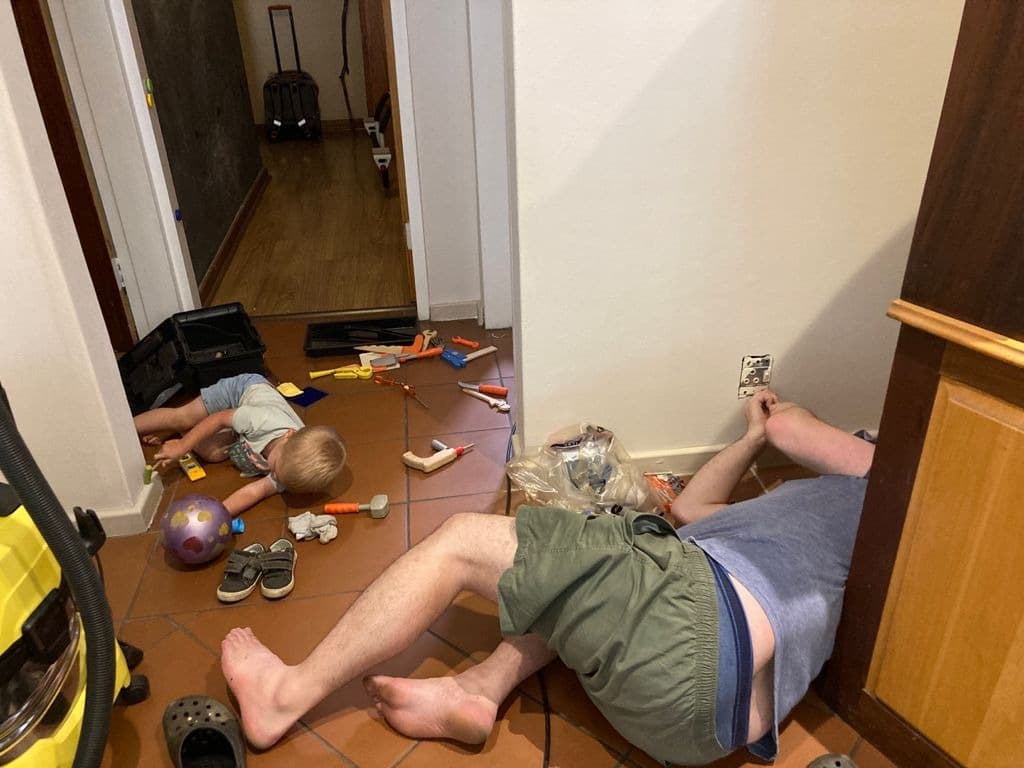
OK I followed Jaco’s advice and proceeded to mount it “from the same box” by removing the plaster on the opposite side.
I looked for the smallest, most narrow single plug I could find to minimise the amount of plaster to remove. Swopped a couple of plugs around and basically mounted the one that was in the room on the opposite side (it is an old one and relatively narrow).
First was switching off the breaker - and then figuring out which breaker had this plug on. I was basically sure that it wasn’t on ANY until I figured out it was on the TV room’s… which is two rooms away. The dining room (where this new plug ended up) now has 3 plugs, each on a different breaker and original plug’s room (on the other side) has two plugs on two different breakers …
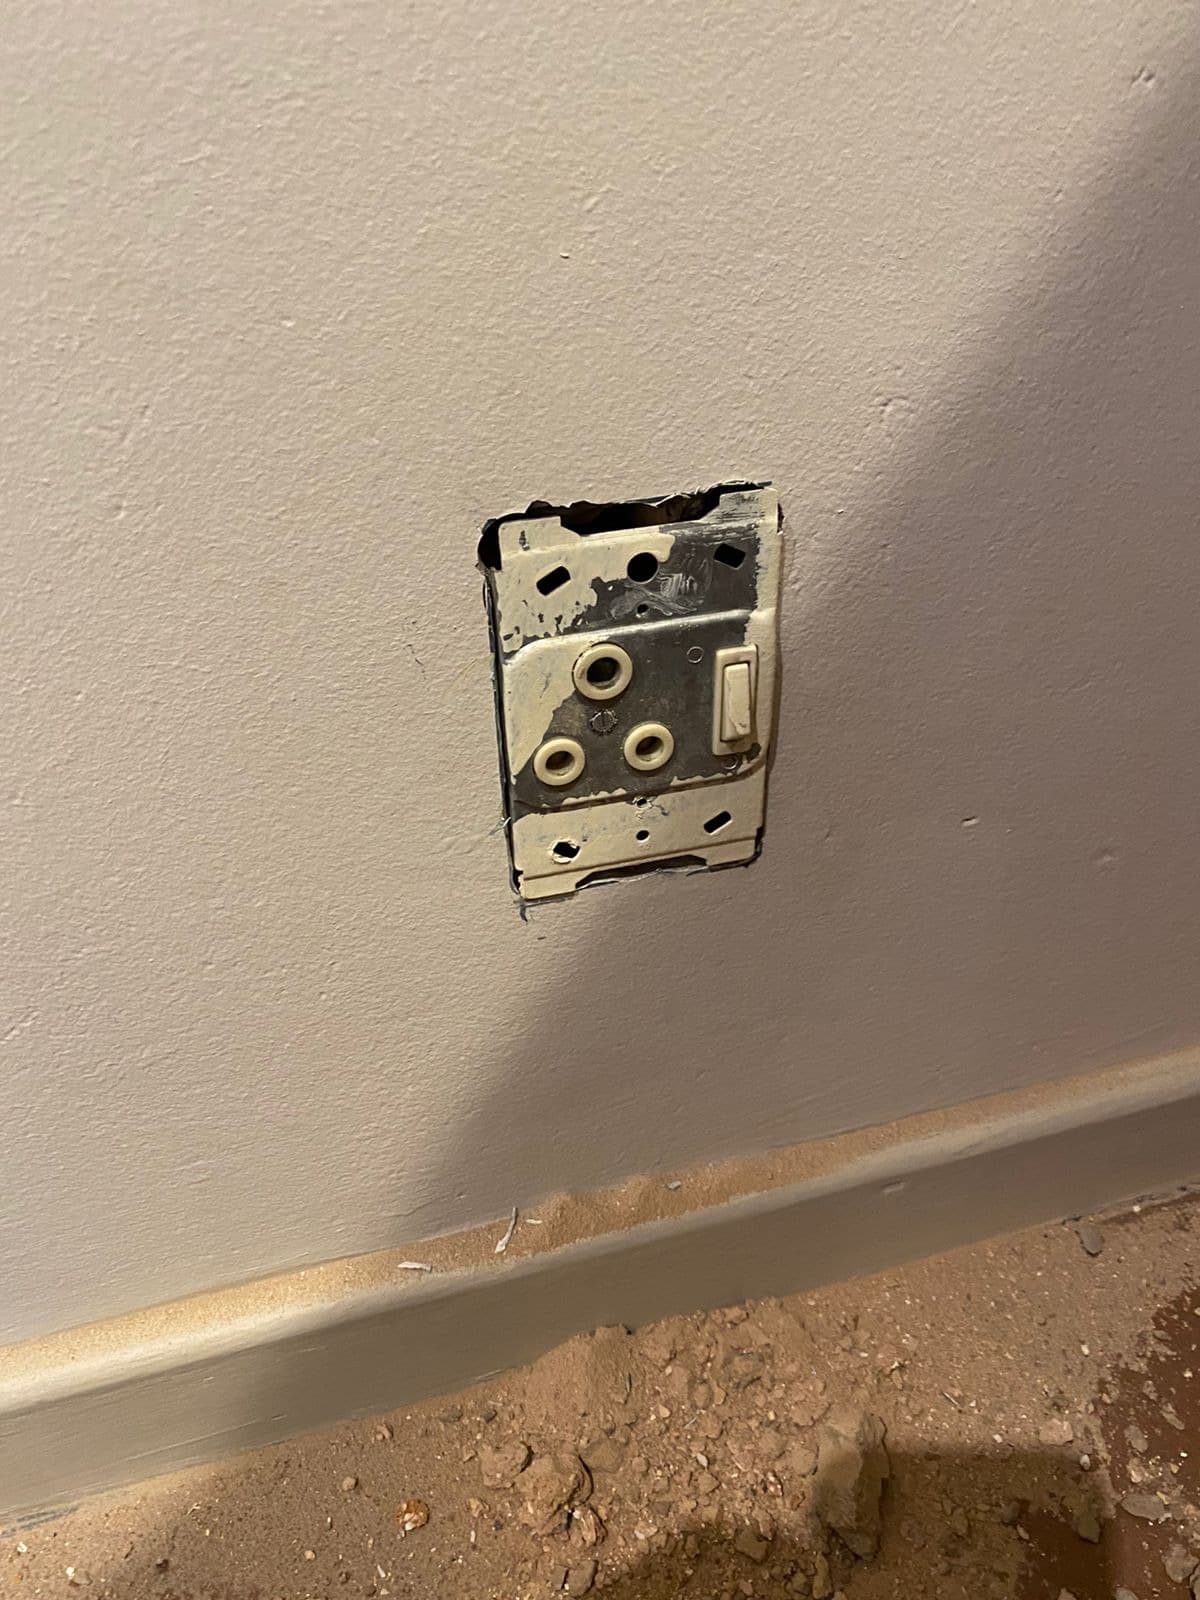
Next: drilling a hole from the existing plug’s side – basically to get the centre and to confirm that there were no bricks (there weren’t).
Marked the plug’s outline and proceeded to remove the plaster. It was thicker than I anticipated (around 7cm thick) so I almost grabbed the angle grinder… but then I thought I’ll try drilling a couple more holes with a 10mm drill bit and my impact drill’s hammer mode. In the end I found I could move the drill around to remove the plaster - probably messed up the bit a bit but it was an old one I had (@plonkster didn’t go out and buy that rotary hammer drill just yet, but figured if I mess up my cheapie it’s a great opportunity to replace it).
Drilled a bigger hole in the metal box and fitted a grommet to protect the wires. Then drilled 4 holes and used self-tappers to mount the plug. Luckily the other side was wide enough to fit a modern plug.
Whilst on the subject of electrical reticulation I am busy getting our ‘new’ house rewired.
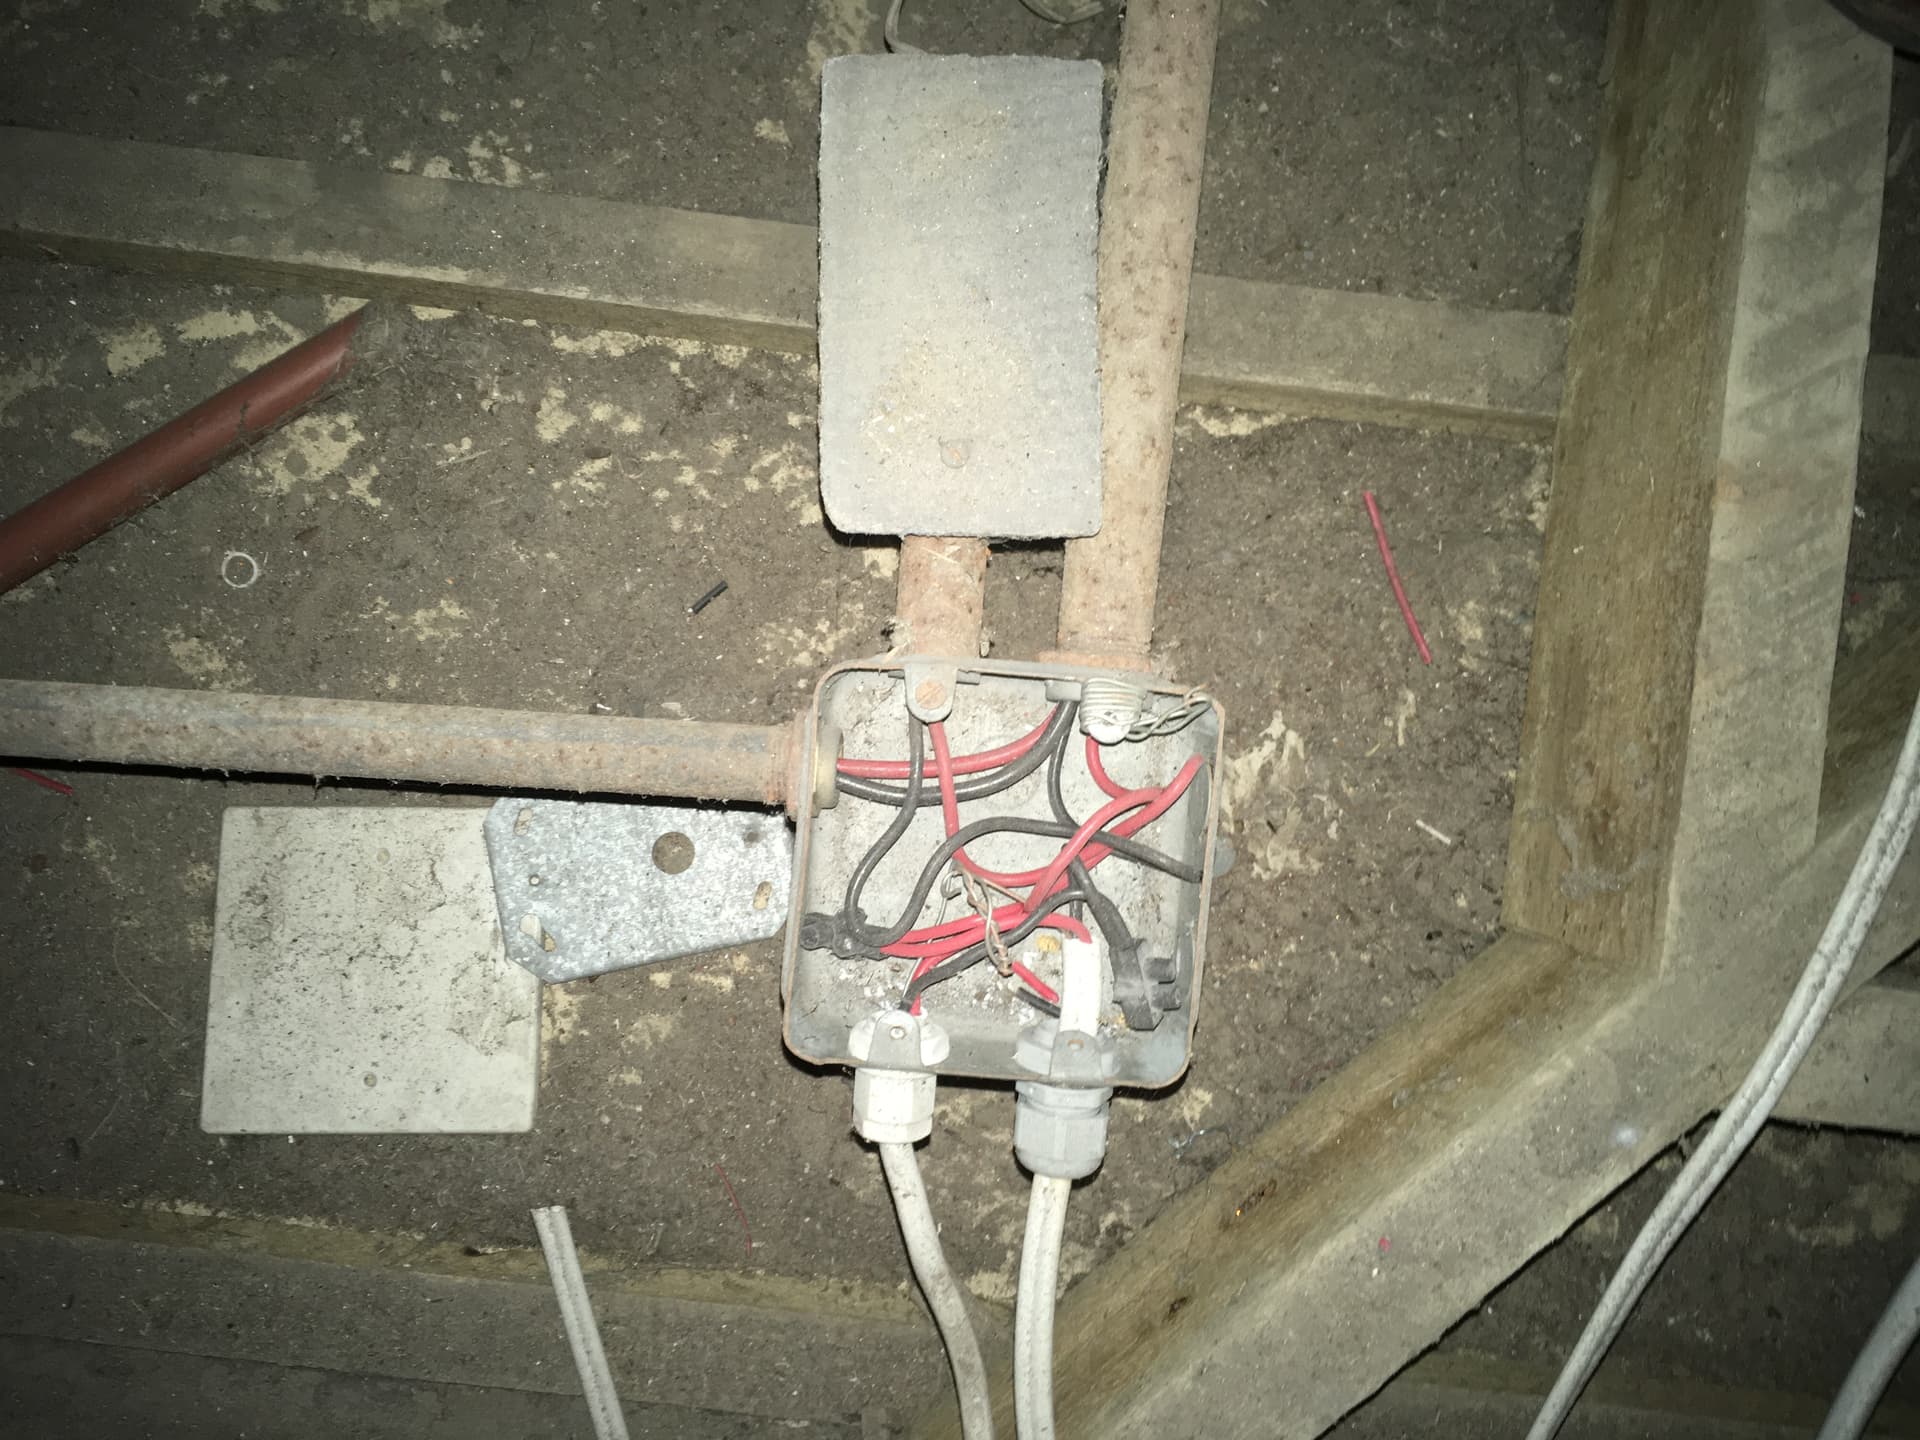
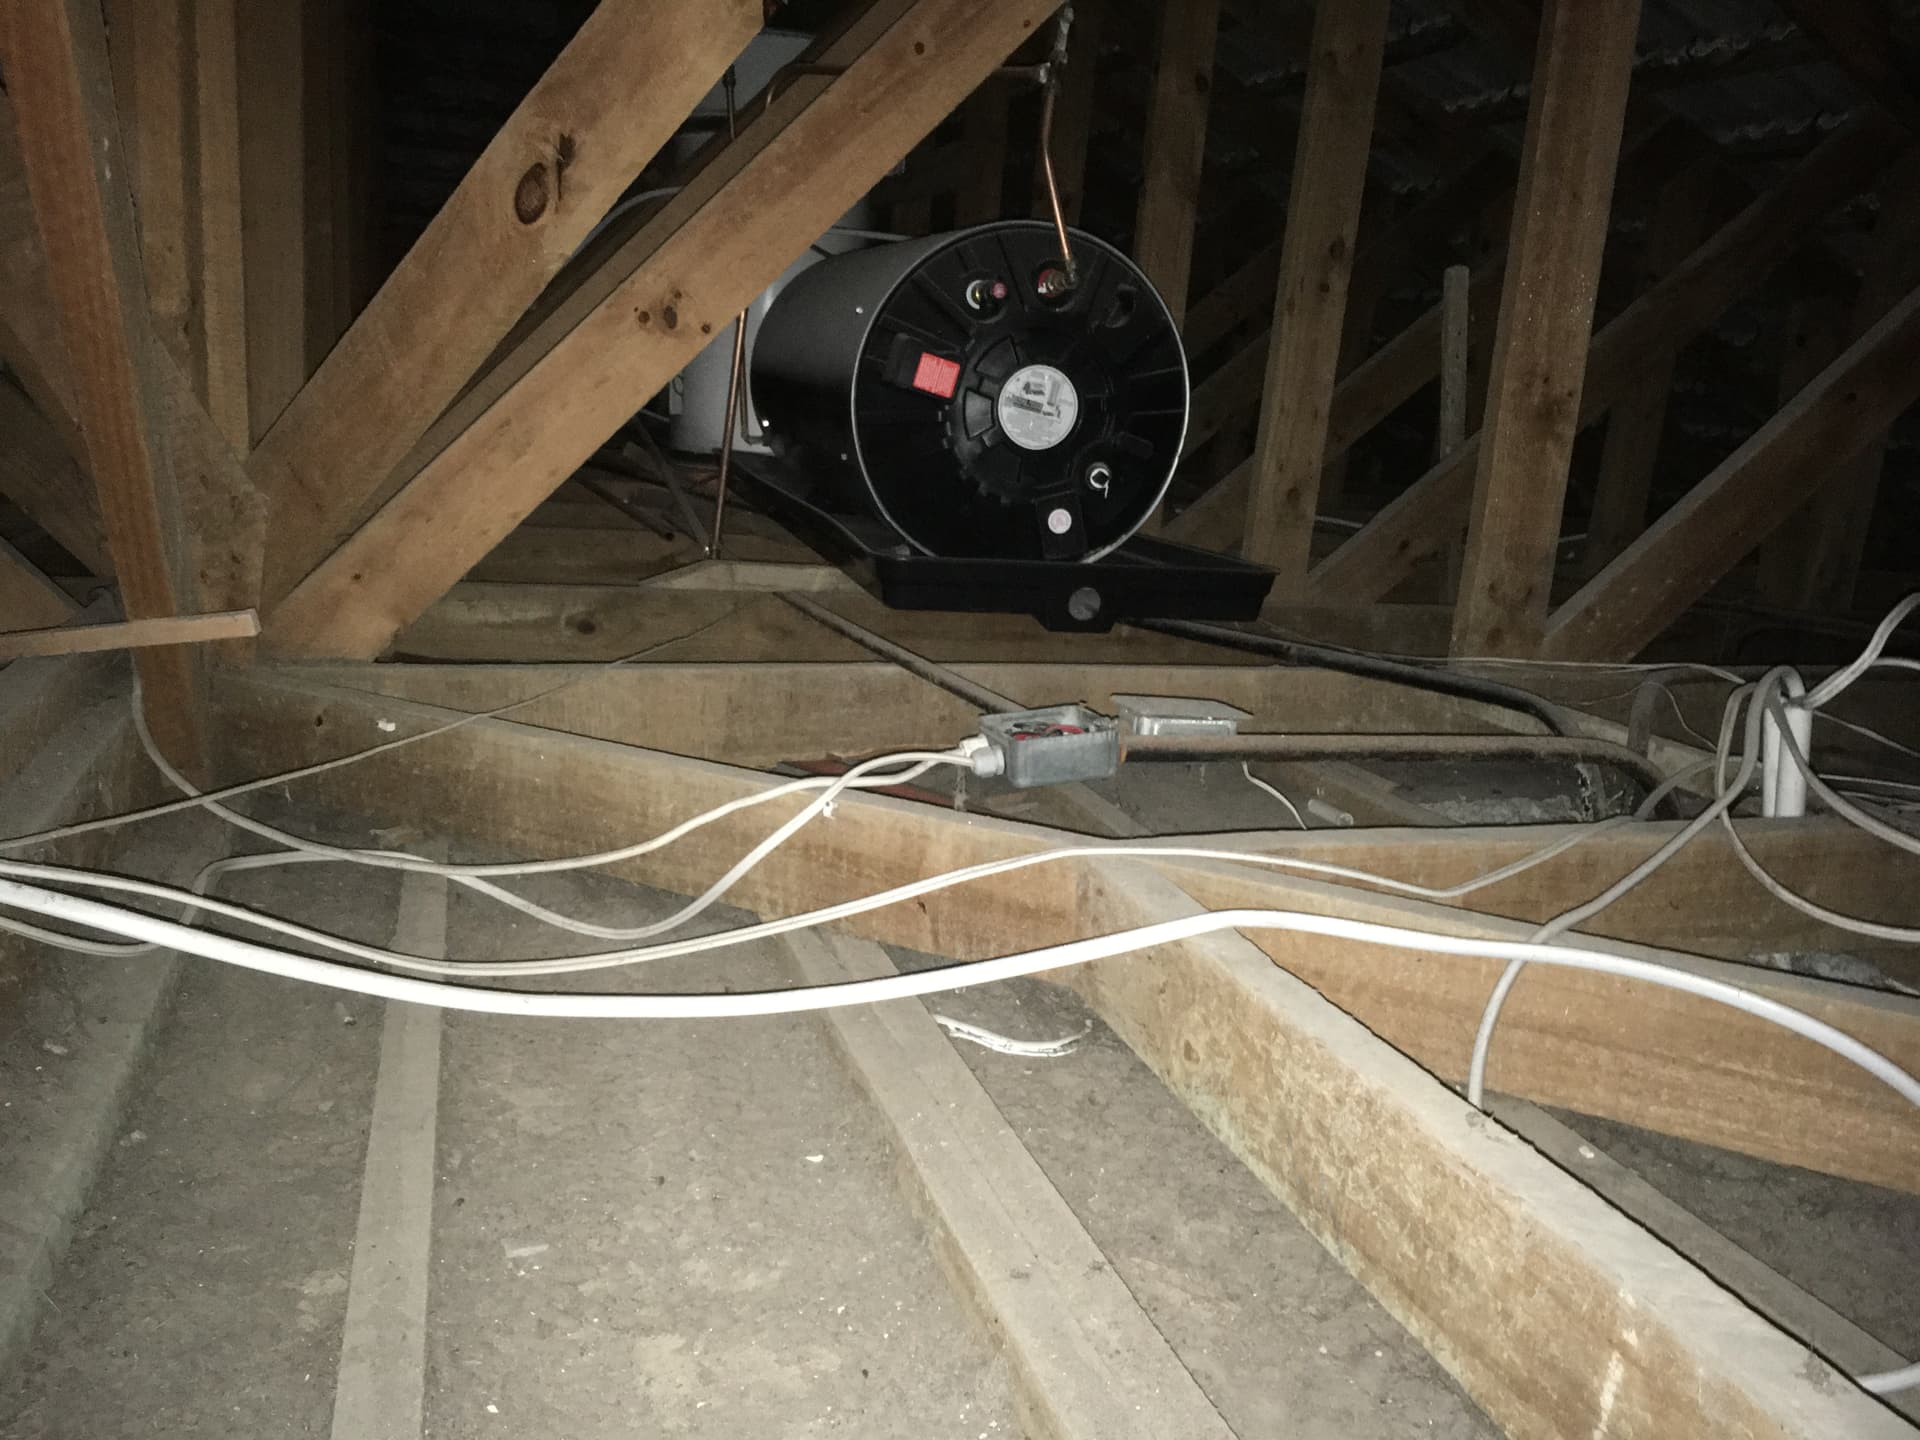
The original installation was perfectly adequate with steel conduit having been customised for the installation and 4x4 boxes used to provide junctions for circuits where required…
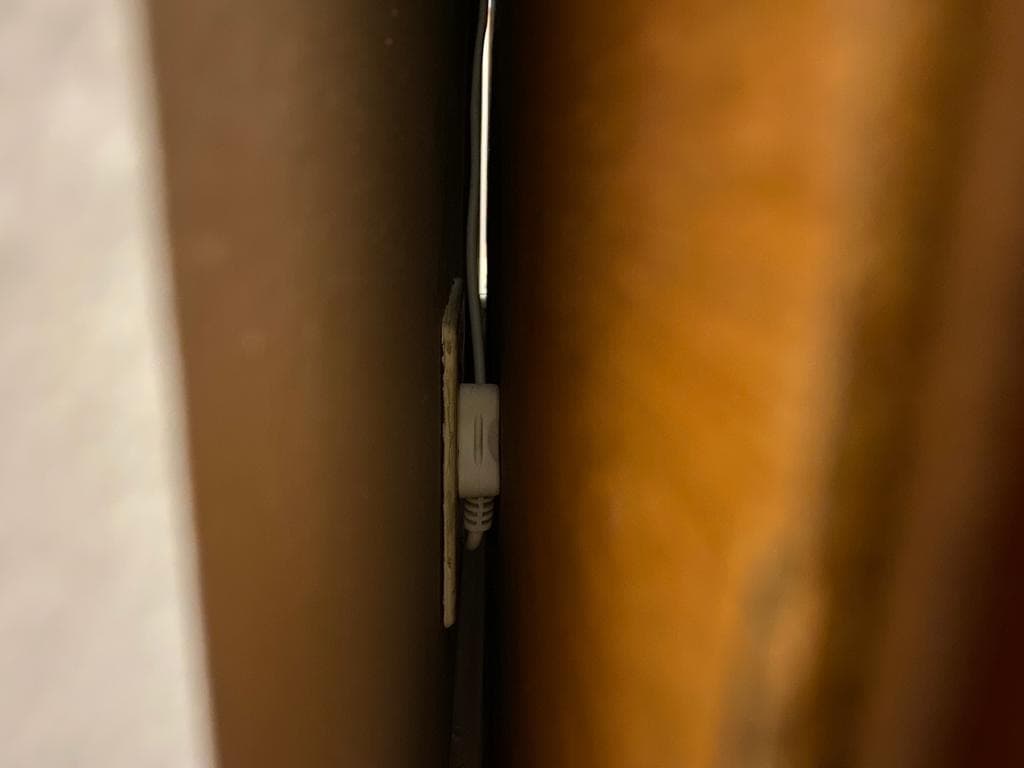
However what happened subsequently was surfix wiring was added and the wires were simply strung across the ceiling to the conduit (or where the surfix was plastered into the wall)
On the right you can see where the surfix is squeezed into the conduit going down to the DB.
This is the problem with domestic wiring where there is always a spaghetti junction of wiring at the DB which makes servicing of ones electrical installation problematic.
I have a proposal to remedy this but would like to hear any other suggestions…
I am not an electrition but form my understanding surfix does not have to be in conduit in the roof. All the new houses is done like that.
Inside the plaster does sound like bad practice and I don’t know if that is allowed.
Correct. It doesn’t have to be in conduit, and you can even plaster it into the wall (though I really really hate it when people do that… makes it impossible to pull new/extra wires in future).
It is allowed, and the worst part (if regulations remained unchanged), you can burry in your garden without installing it in a conduit if it’s deeper than 300mm.
Yeah, I’ve seen people do that. But an additional caveat here is to check what the manufacturer says. SANS may allow it, but if Aberdaire (for example) says don’t bury this… then you can’t
I don’t know the exact science behind it, but it has to do with the kind of cabling (the fact that they are wrapped together with a stiff earth) and that in the roof you don’t need additional mechanical protection.
PV cable does have very thick insulation (rated up to 1000VDC typically), and it is mechanically quite sturdy, but… there is probably a reason to not just run it bare across the ceiling boards…
I haven’t much experience with domestic wiring.
That said the bit I have, would make me choose:
Conduit in the walls.
Only have wire connections at fittings and switches.
Surfix in the ceiling to be cable-clipped to the side of the ceiling joists to minimize damage by being stood on.
Plenty of rat poison.