So after waiting about 2 months for eskom to get back to me we have made the call to disconnect, which means some goodies are already on order to be able to go off grid.
Stay tuned for season 2 
So after waiting about 2 months for eskom to get back to me we have made the call to disconnect, which means some goodies are already on order to be able to go off grid.
Stay tuned for season 2
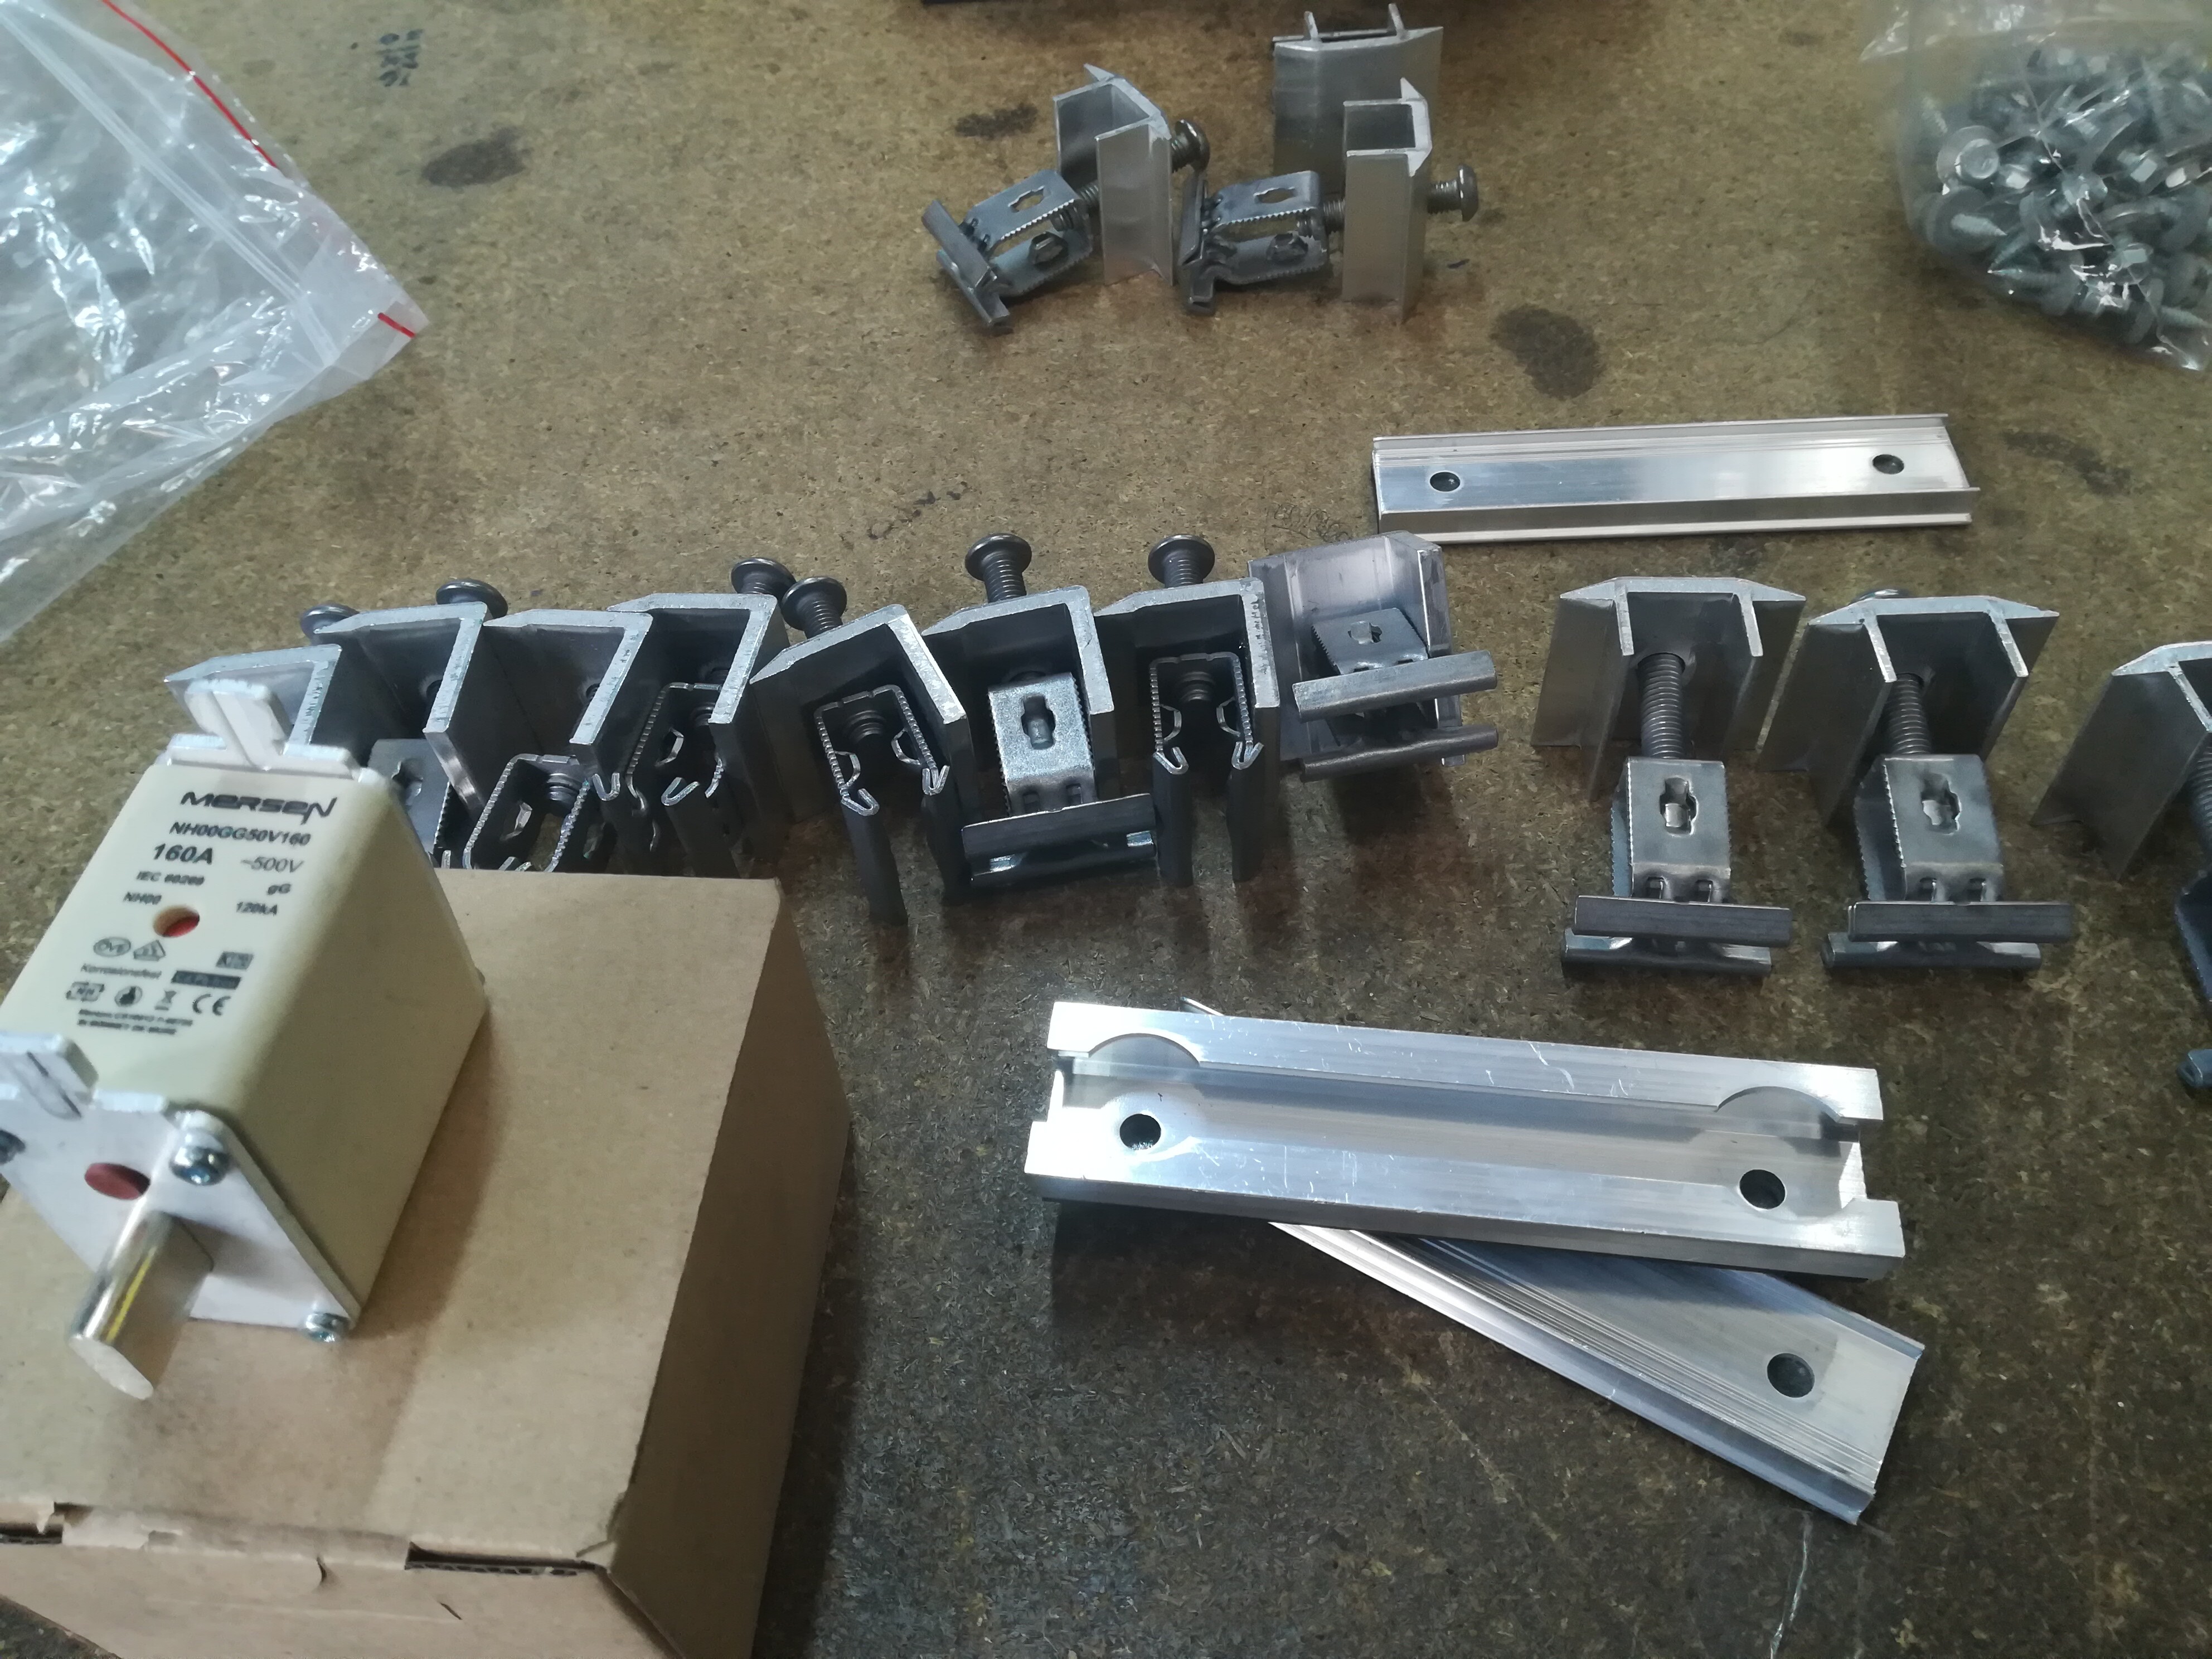
So just received my 8x435W solar panels and brackets @JacoDeJongh those brackets are smaller than I thought but I can see how installing will be much faster. Also got some extra fuses for my disconnector as I got a third battery.
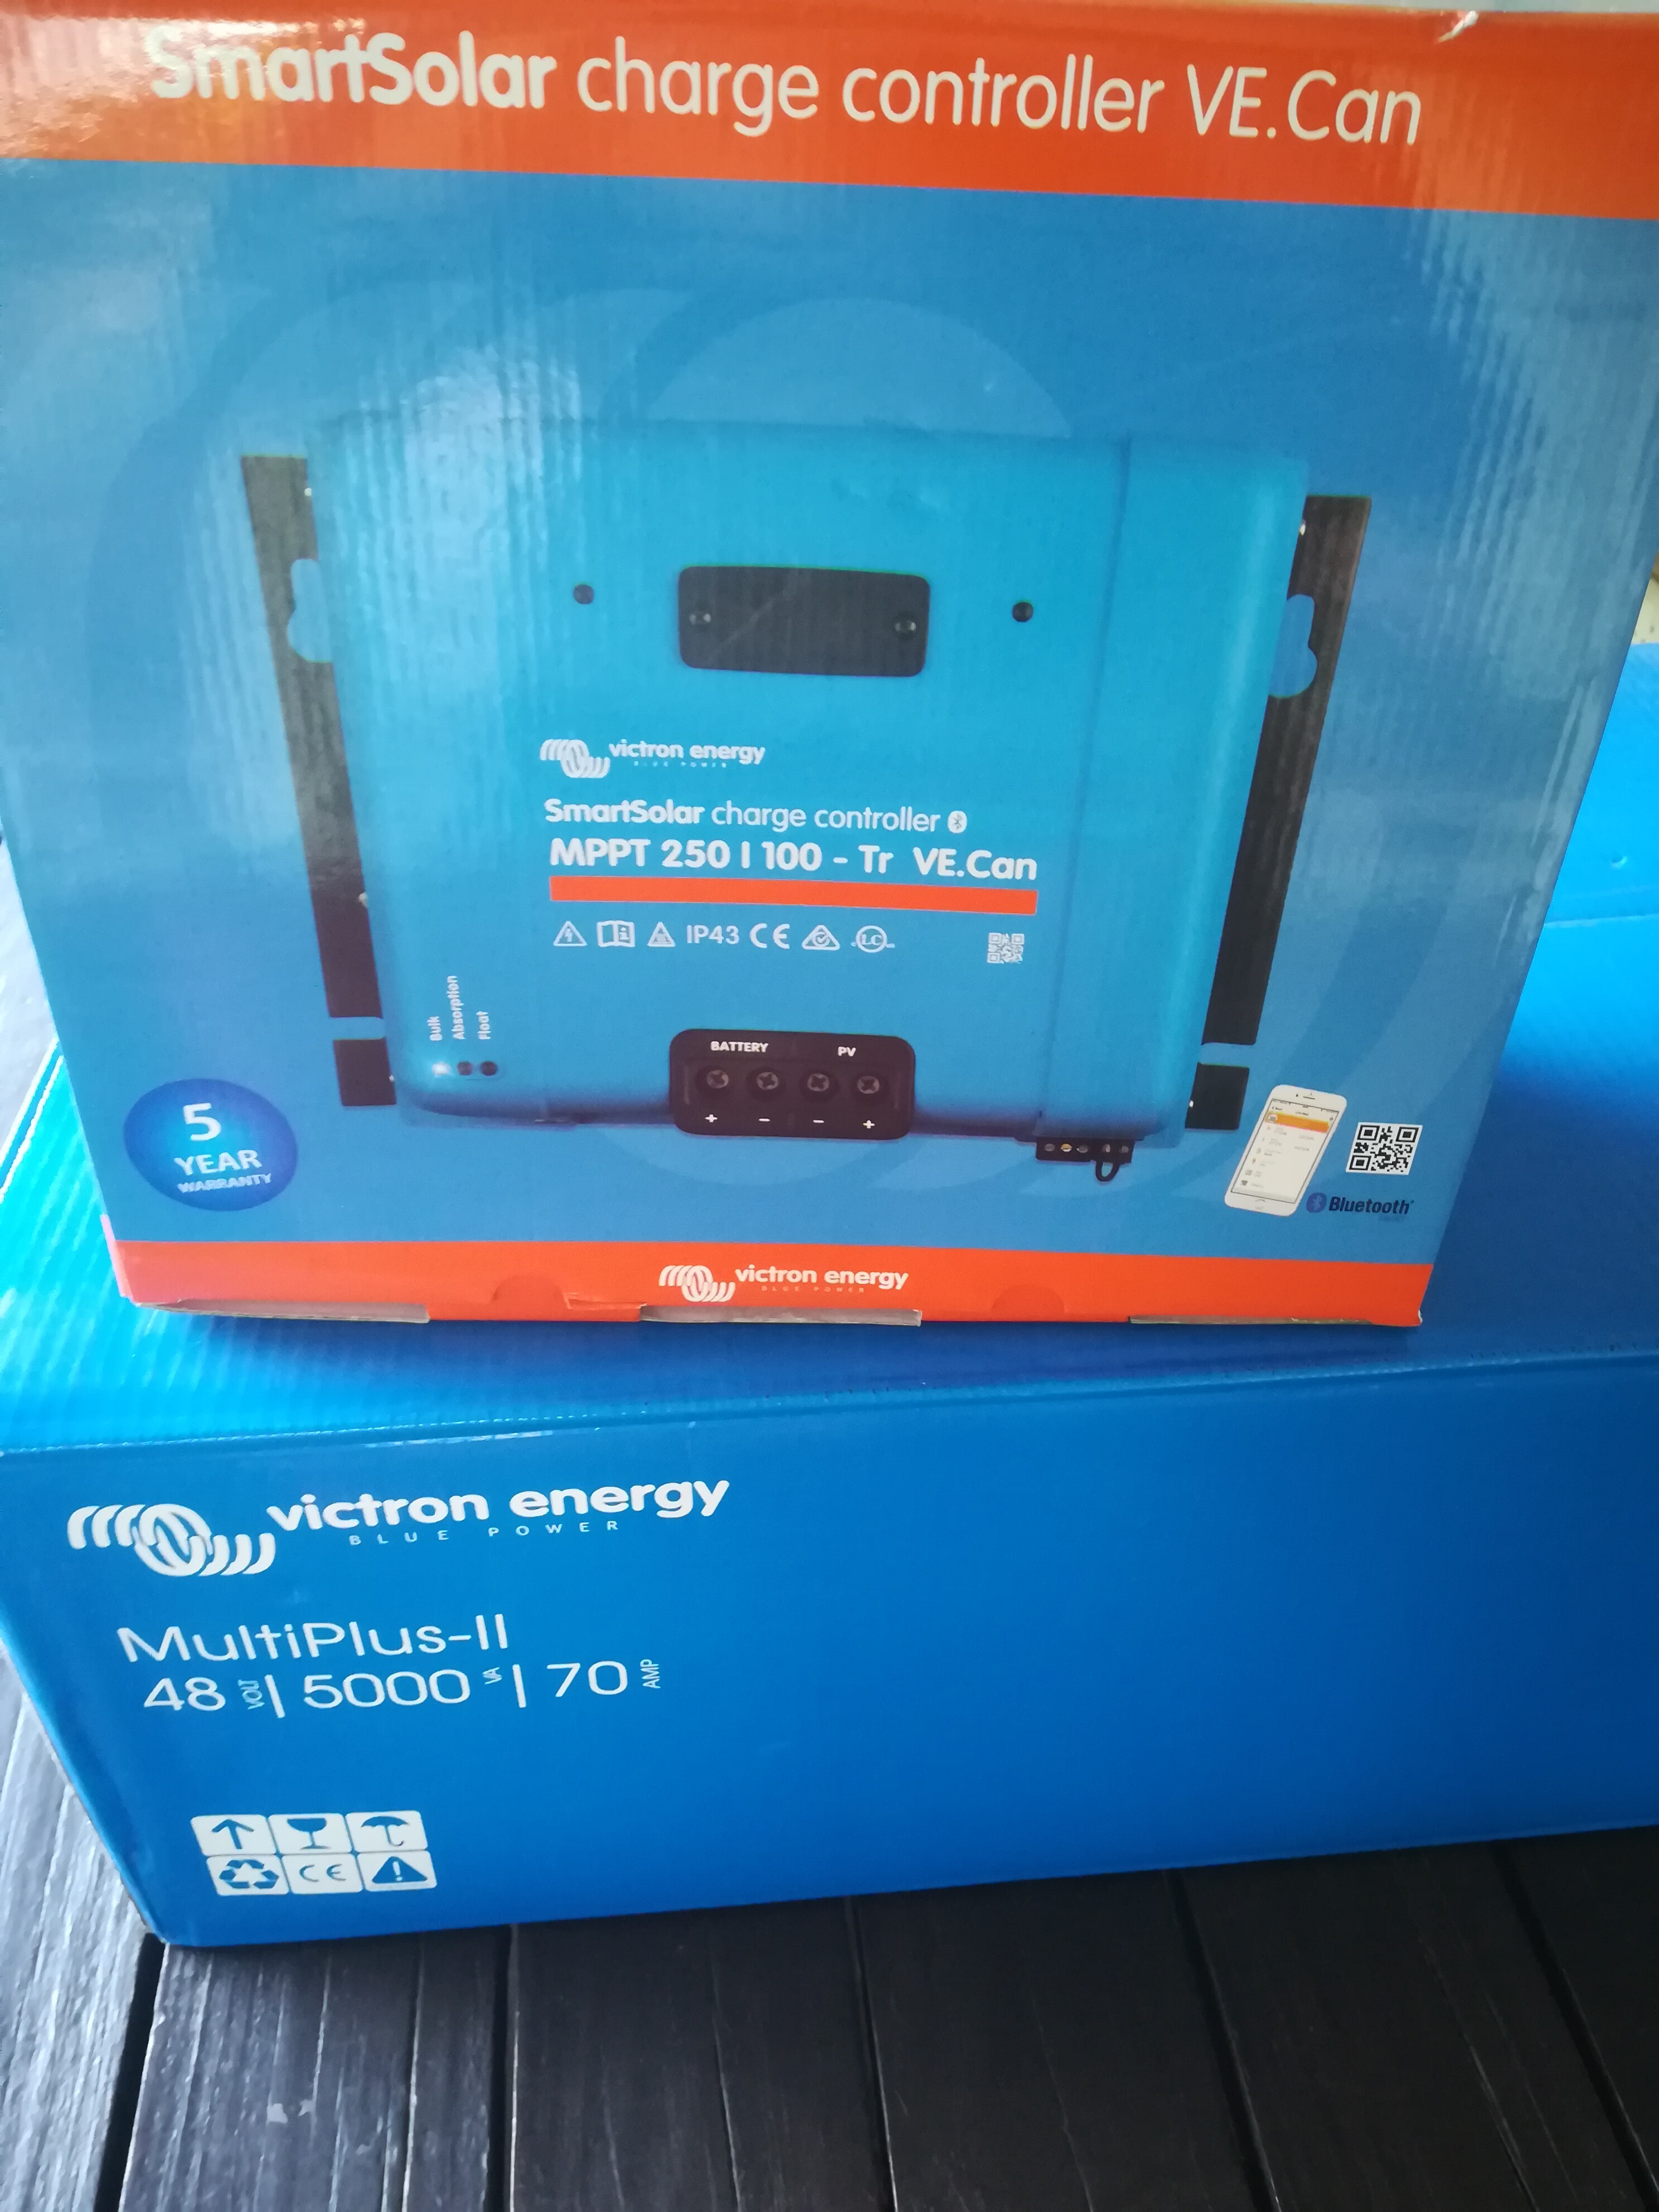
Still to be collected is a 250/100 mppt and a second MPii 5kva inverter.
My West roof can take about 16 panels so have 8 now and 8 planned for bit later
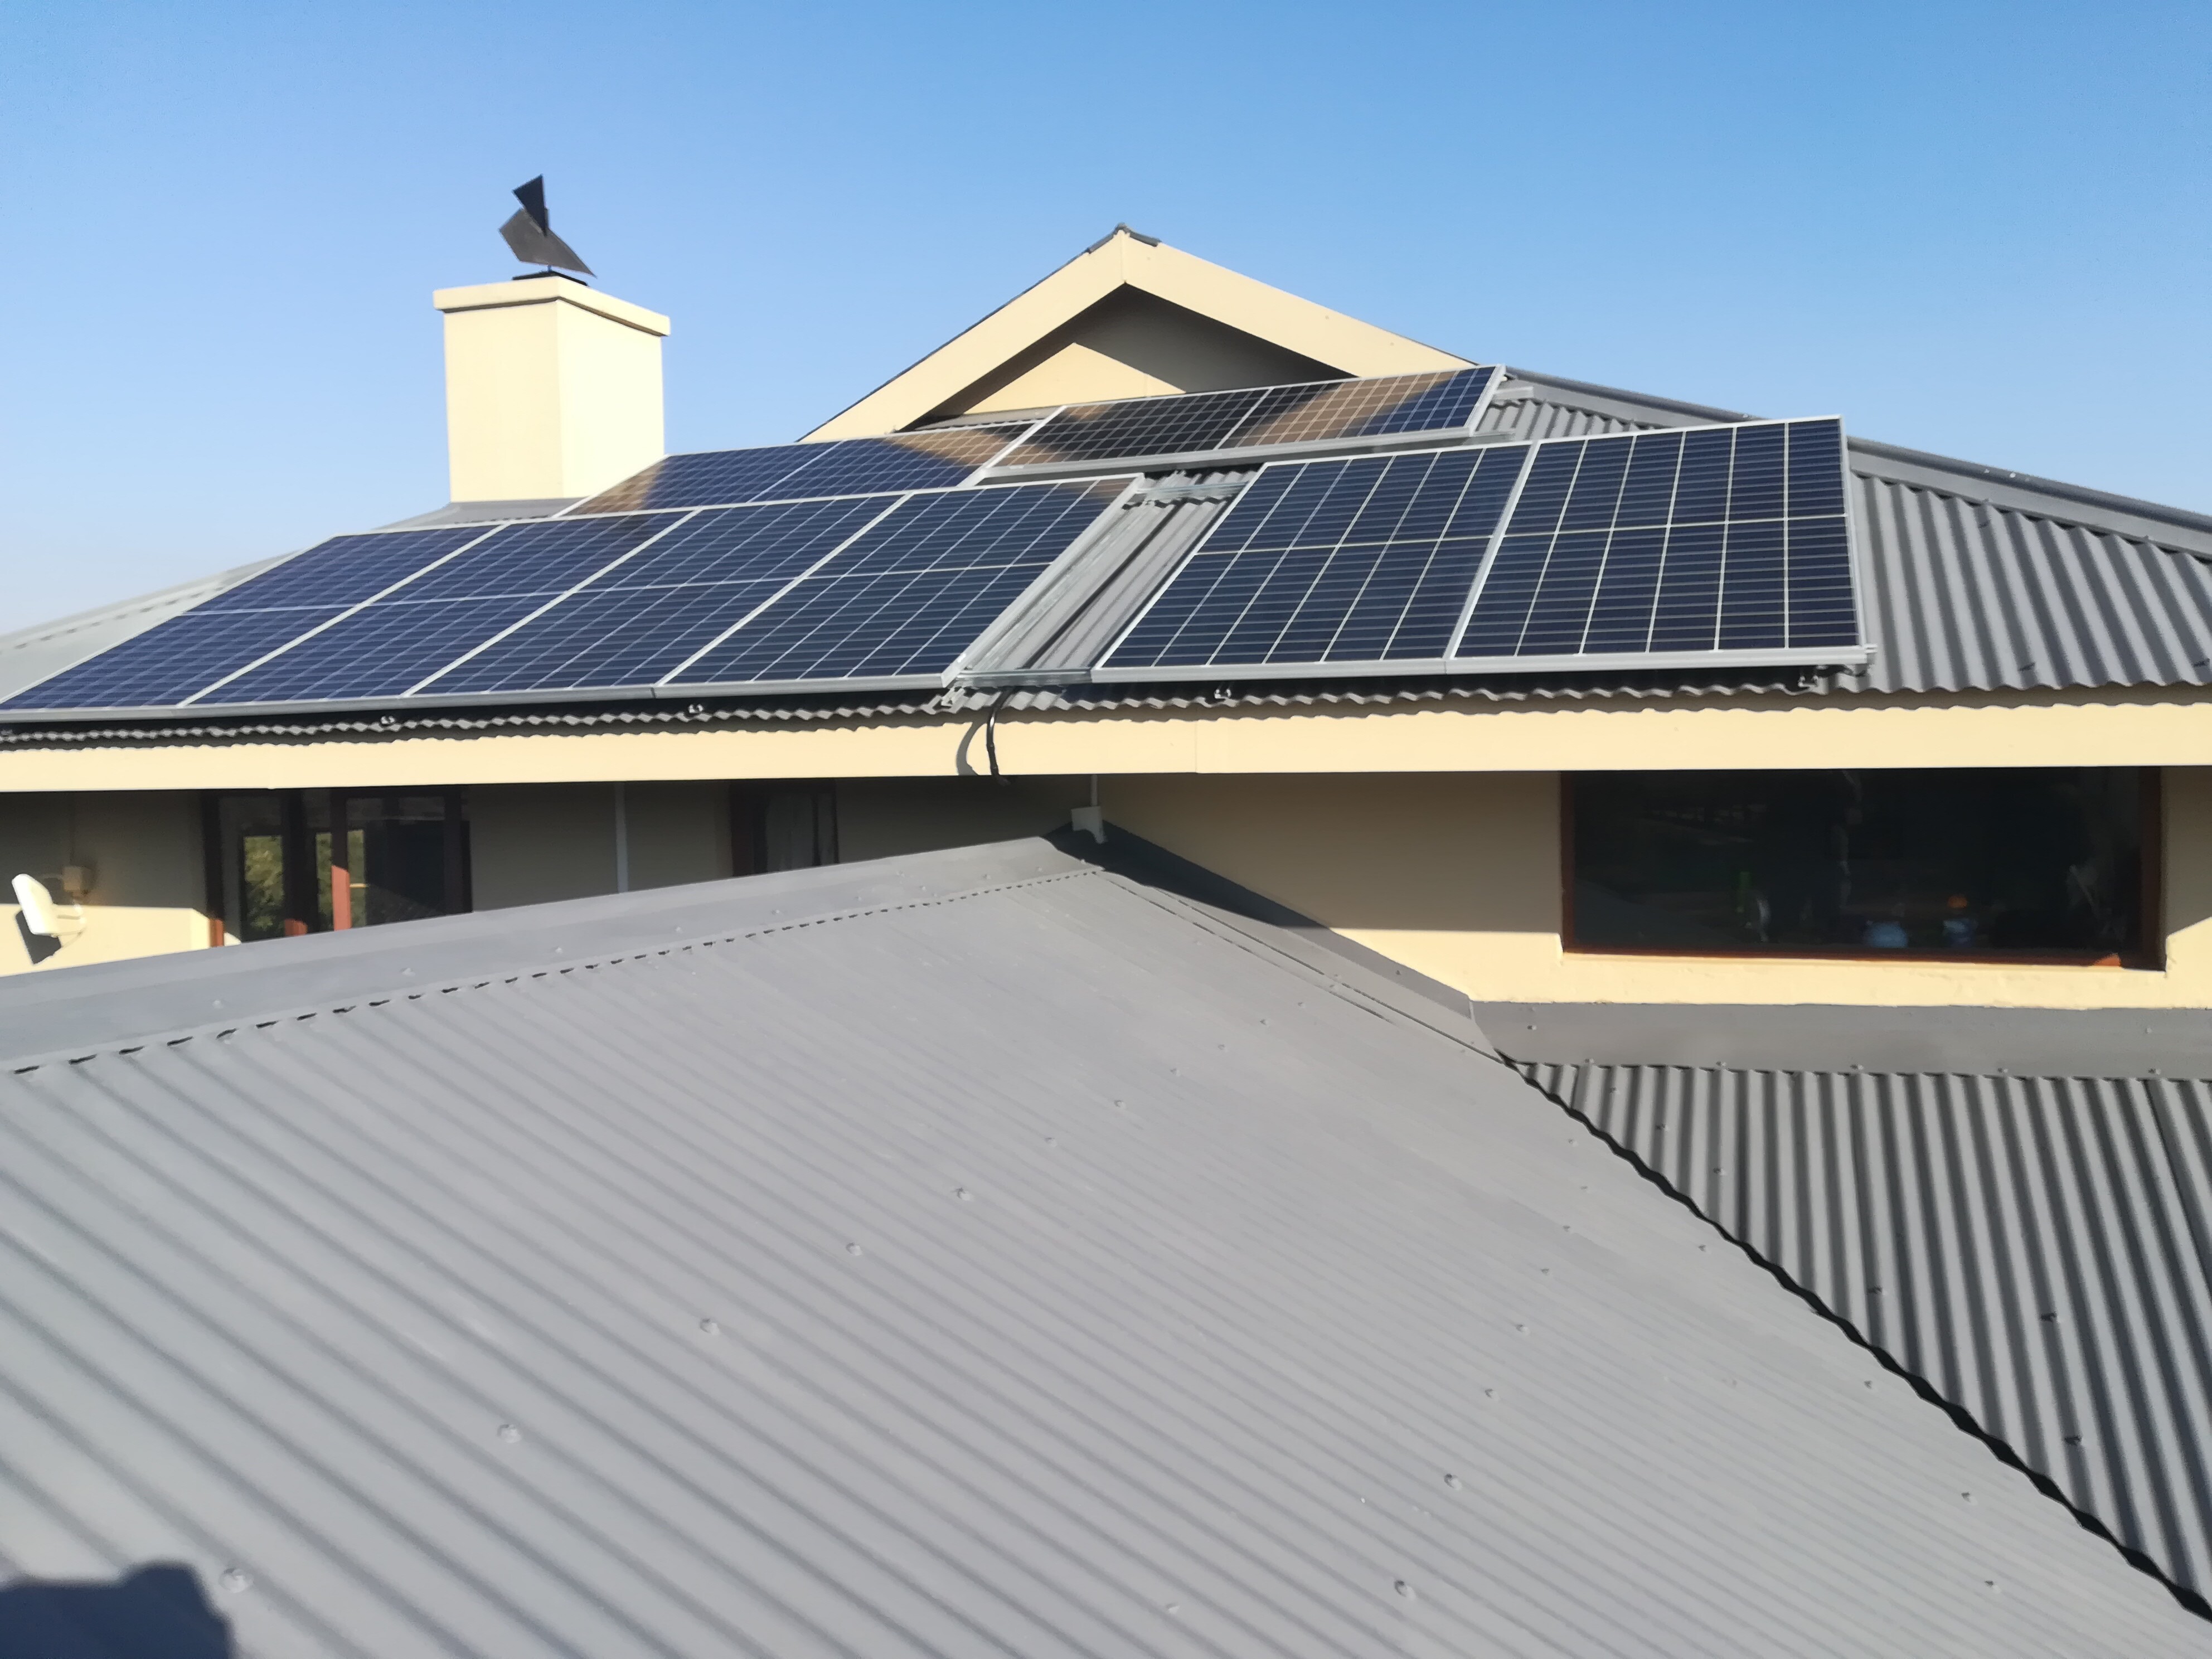
So finally completed my north array with 8 panels on a 150/60mppt.
This is the only north facing roof space I have that is in constant sun and I had to leave a gap in the middle as it’s also the only spot where I can climb to the second story without a ladder so looks a bit weird with a gap in the middle and the one top panel higher but it’s functional.
Also managed to paint the roof below that faces west I’m going to put 4 panels there next and then plan to eventually have 12 panels on the other face at the top but that section first needs to be painted.
I have seen too many installations where the installer left no space to reach the air conditioners on a flat roof. The AC service people, of course, isn’t going to know better and they are going to walk on the panels… so kudos for leaving yourself space!
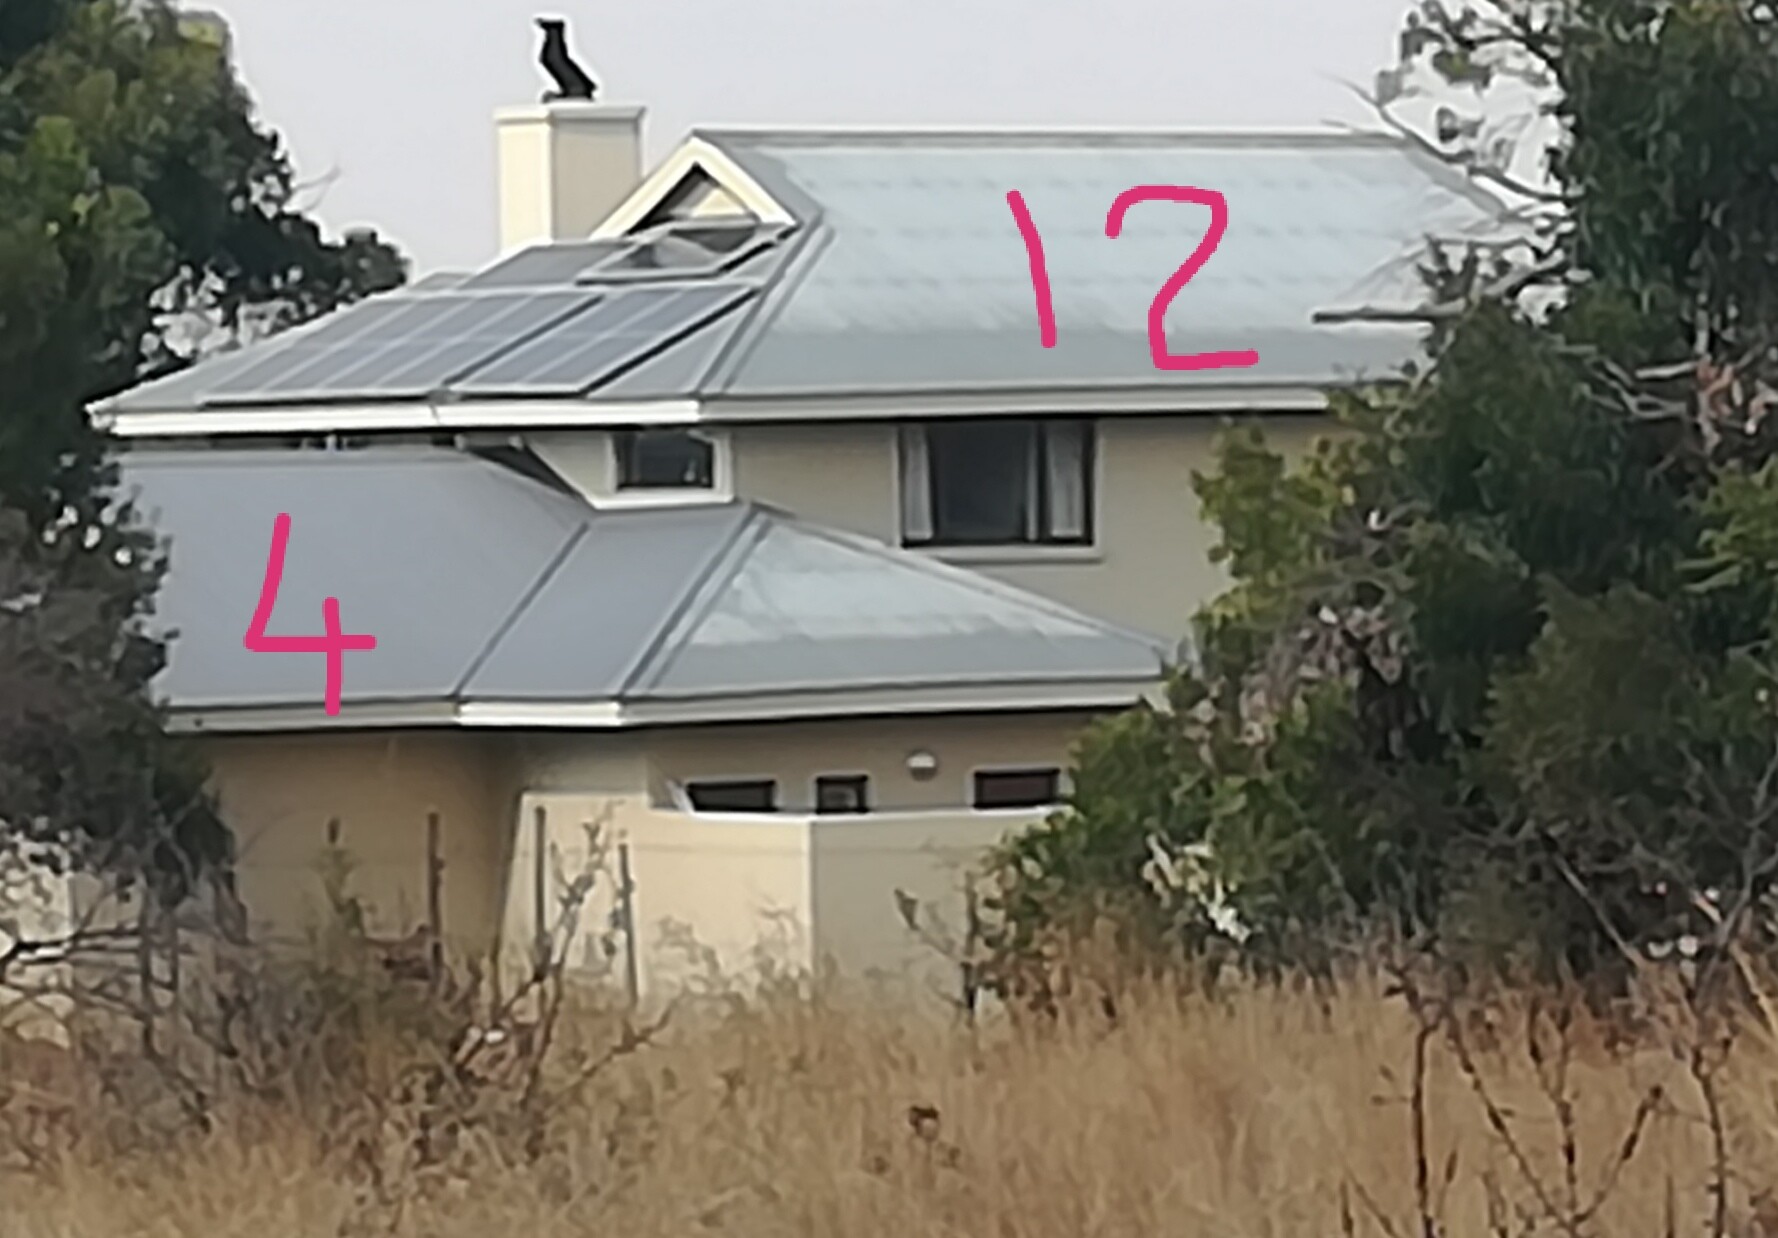
Got a pic from the road of the house roof, you can clearly see where it still needs painting, this is west facing side.
Hopefully get my 250/100 mppt this coming week then plan to add panels as indicated. I’m doing 4 series and 4 parallel to make up the 16. Will be over the power limit of mppt but well within the voltage and current limit so could add more for bad weather days, if you have other ideas let me know
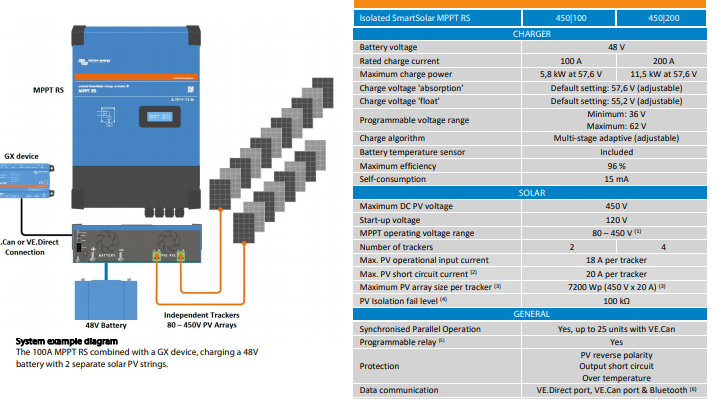
Have you looked into the 450/100 MPPT? It seems to have two independent trackers, so if you want to combine different orientation panels on one MPPT (and with a high voltage) it seems cheaper than getting two MPPTs or living with the inefficiency of adding it on one.
That I didn’t know, that’s pretty cool. Wonder what the price is?
The only thing i like about separate mppts is that you not left stuck if one conks out.
Here’s a link to one:
Not sure if it is the cheapest.
Yeah having two separate ones probably has more failsafe, but presumably they can still fail independently within the 450/100?
It is pretty expensive and I see its about the size of the mpii inverter but this would work great for a big install with a huge east and west array also very little cabling. For home I think its nicer to have more cabling so you can keep check on separate strings and fault find easily.
We always think something is overkill till we end up upgrading to it.
Yeah it is pretty expensive, but for say R6k over the 250/100, you get a second tracker, which is very nice. Especially for home installs.
100A to me is the sweet spot to sit at for a 5kVA MPII as it covers the full capacity of the inverter with ease, doesn’t really matter at what voltage your 48V nominal bank is sitting.
It doesn’t matter if you can’t change your battery voltage, but if you can it can make quite a difference.
There is a big interest in building diy LiFePo battery banks on this forum, especially amongst Victron users.
I have been an advocate of an 18s arrangement over the more traditional 16s bank.
So while this is being mentioned, I want to also point out another advantage of an 18s bank.
Charging those two extra cells at say 3.4V is an extra 680W capability out of an existing 100A MPPT.
That’s a 12.5% increase and it translates into a couple more panels without buying anymore gubberings.
You see it is a current ceiling, not a power ceiling.
The main selling point of the MPPT RS is the high voltage trackers. They can indeed fail independently… but of course some things are also shared, so that part of the equation is not an exact science 
Just one important thing about these: Do not accidentally swap the negative cables. The effect of that is quite hilarious. The negatives are common (so the charger actually works), BUT, the current sensor sits in the negative line, so if you swap the negative cables the tracker uses the current measurement of the OTHER string. It’s hilarious to watch them fight each other…
Exactly, which is why I’d prefer to get my bank’s voltage as high as possible as my MPPTs max out at 90A. If I had a 100A MPPT, I would’ve had less of an irritation as I have a 15S Pylontech bank… Got this before I knew anything (I still know nothing, but at least I know that 16S+ would have been better given the current limits).
I really wish the product existed a few months earlier!
So what you are actually saying is that we should set it up like that? ![]()
Not necessary. At least one customer has already done it… how do you think I know about it? ![]()
I can definitely see how useful the 450/100 mppt is especially if you have two main arrays that can accommodate the power it can take. I might have used this from the beginning for a north and west array as my house sits not true north but slightly NNE so catches the rising sun fairly early.
We actually use most of our power in the afternoon and west is best for charging for the evening. As I have clear view west with no shade that is why I have decided for the 250/100 mppt for west. I might not actually put a east array if these two are enough, also I catch a lot of shade on the eastern side of the house from a huge blue gum and the house chimney.
I think if I had to redo my system I would have done quite a few things differently
Mamparra here has done something similar but it gives the same effect (face palm emoji)
Connected 2 MPPTs on both sides of the BMV712 shunt…
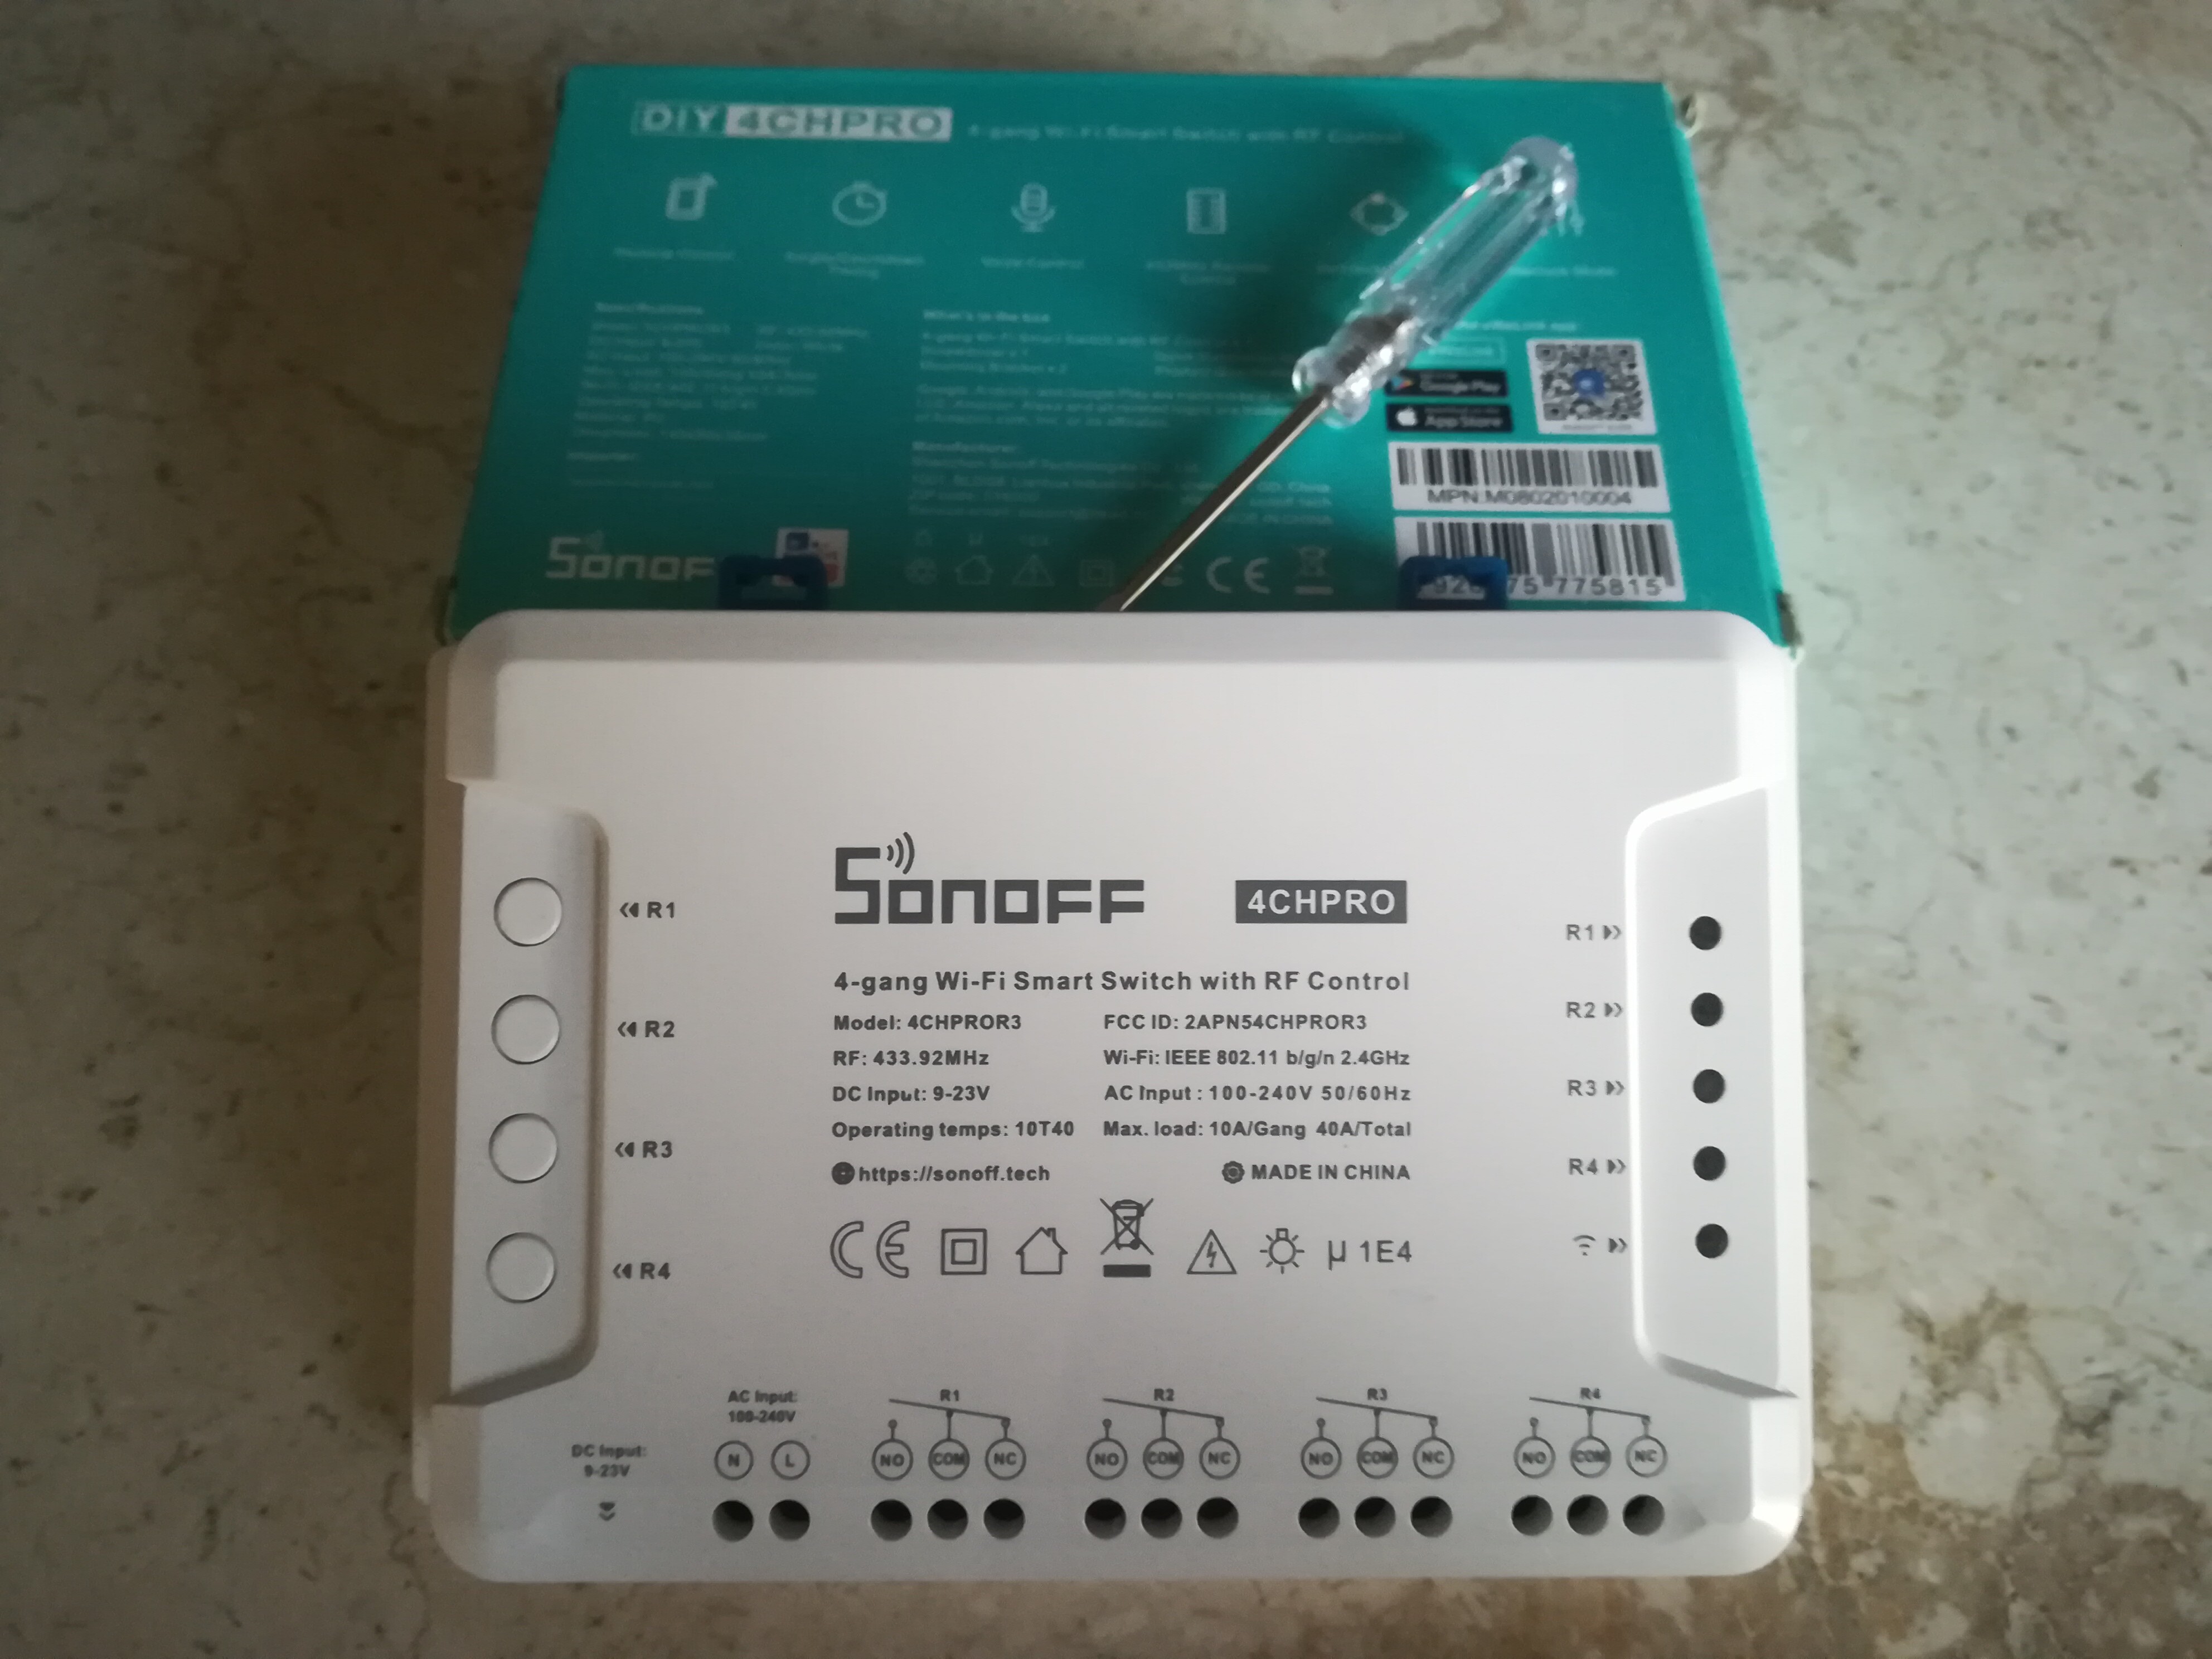
Got my WiFi switch so now I can implement load shedding if family doesn’t co-operate with power usage 
Fetched my second inverter and the big mppt so now I’ve got my work cutout.
First plan of action is do second PV DB and connect up mppt. Second inverter is going to be a bit more work need to just get all my facts straight before parallel them.
Was measuring and should have left more space next to first inverter then I could have fitted them side by side would have looked better. But now I won’t end up with 100mm air gap around the inverters so will have to install on wall to the side of inverter as I marked on previous photos.
If anyone sick of me posting pics of things you all seen before just tell me.
Shout if you need help with the parallel config. And please keep your AC and DC cables to both units as symmetrical as possible. (Believe me, it makes a big difference if you don’t)
Thanks I probably will need some help. I did read about the cabling so will make sure. Do you connect to DB with one breaker or two seperate breakers rated for each inverter, or one double pole?